
The purpose of this post is mostly to document an off-the-wall problem (and the solution!) as well as a few other things we’ve figured out that might be useful to someone else following a similar path through RV-land, or troubleshooting a Dodge-Mercedes-Freightliner Sprinter. A couple of our regular readers may actually find parts of it fascinating, and I am certain that others absolutely will not, but that’s not why it’s here. It’s kind of tech-y and arcane, and that should be enough for you to sort yourself into the appropriate group and either continue reading or move on.
The Electrical Problem
Our 2008 Winnebago View 24J, built on a 2007 Dodge Sprinter 3500 cab and chassis, was having intermittent electrical problems. The symptoms included flashing of the dashboard display, clicking relays and blinking headlights & hazard lights when the engine was turned off and the key removed; also headlights or daytime running lights turning themselves on and off randomly while the engine was running normally. The issues started with a very occasional blinking of the dash panel display which became increasingly frequent and gradually added the other behaviors (the DRL, emergency flashers, clicking) and eventually it was happening every time the engine was shut down.
I spent a few days checking everything I could access under the dash, behind the radio, under the seats, everywhere there’s Sprinter wiring or that I knew Sprinter wiring connected to Winnebago wiring. I found no blown fuses, no non-functioning relays, no corroded connections, no evidence of coke or coffee having been poured over anything, no wires that I had messed up or pulled out when I was working on the radio or under the passenger seat, no evidence of mouse-gnawed insulation. All of the wiring to and from all of the batteries was intact and solid, grounds were good, voltages checked out. I needed help. I found it at my friendly local Sprinter dealer. They probably wouldn’t be appreciative if Sprinters with electrical problems like this started showing up regularly, but they attacked this problem and solved it. (And it only took a week and a half…)
At first, it appeared the instrument cluster module was fried, so that was replaced and fixed… nothing. Bummer! Another module was replaced, and the problem still remained. Something was missing, so back they went, rechecking everything and digging deeper. I don’t envy the mechanic who happened to get our vehicle! But he found the problem.
It turned out to be a combination of things, including a loose connection to one of the relays under the passenger seat that I missed (apparently the source of the clicking, not a root cause of problem but masking what was really going on with the second module that was replaced) and an internal failure of the SAM module (signal acquisition module) that resulted from a malfunctioning door lock in the camper entrance door which overloaded and damaged the SAM module. This damaged SAM module was performing most of its functions correctly, but prevented the instrument cluster module from taking coding correctly, causing all of these other odd and seemingly unrelated problems.
Our camper door autolock has not worked since we purchased the vehicle in 2015, so that was not a new or sudden issue. Various of the electrical oddities that occurred in the meantime, in retrospect, were almost certainly related to this problem which became increasingly more pronounced over time (adding problems with daytime running lights, headlights, emergency flashers, more clicking). It was especially alarming that things would happen with the ignition key completely removed from the vehicle!
RR Charlebois, the Freightliner dealer in Milton, VT did this work for me. Kudos to them, and many, many thanks! I’ve done a fair amount of messing around with the wiring on this vehicle myself, and let me say that I am delighted to know that the whole problem wasn’t my fault.
https://www.instagram.com/p/Bh70nk0Bdty/?utm_source=ig_share_sheet&igshid=1u3go7gizgcl2
Trik-L-Start Switch
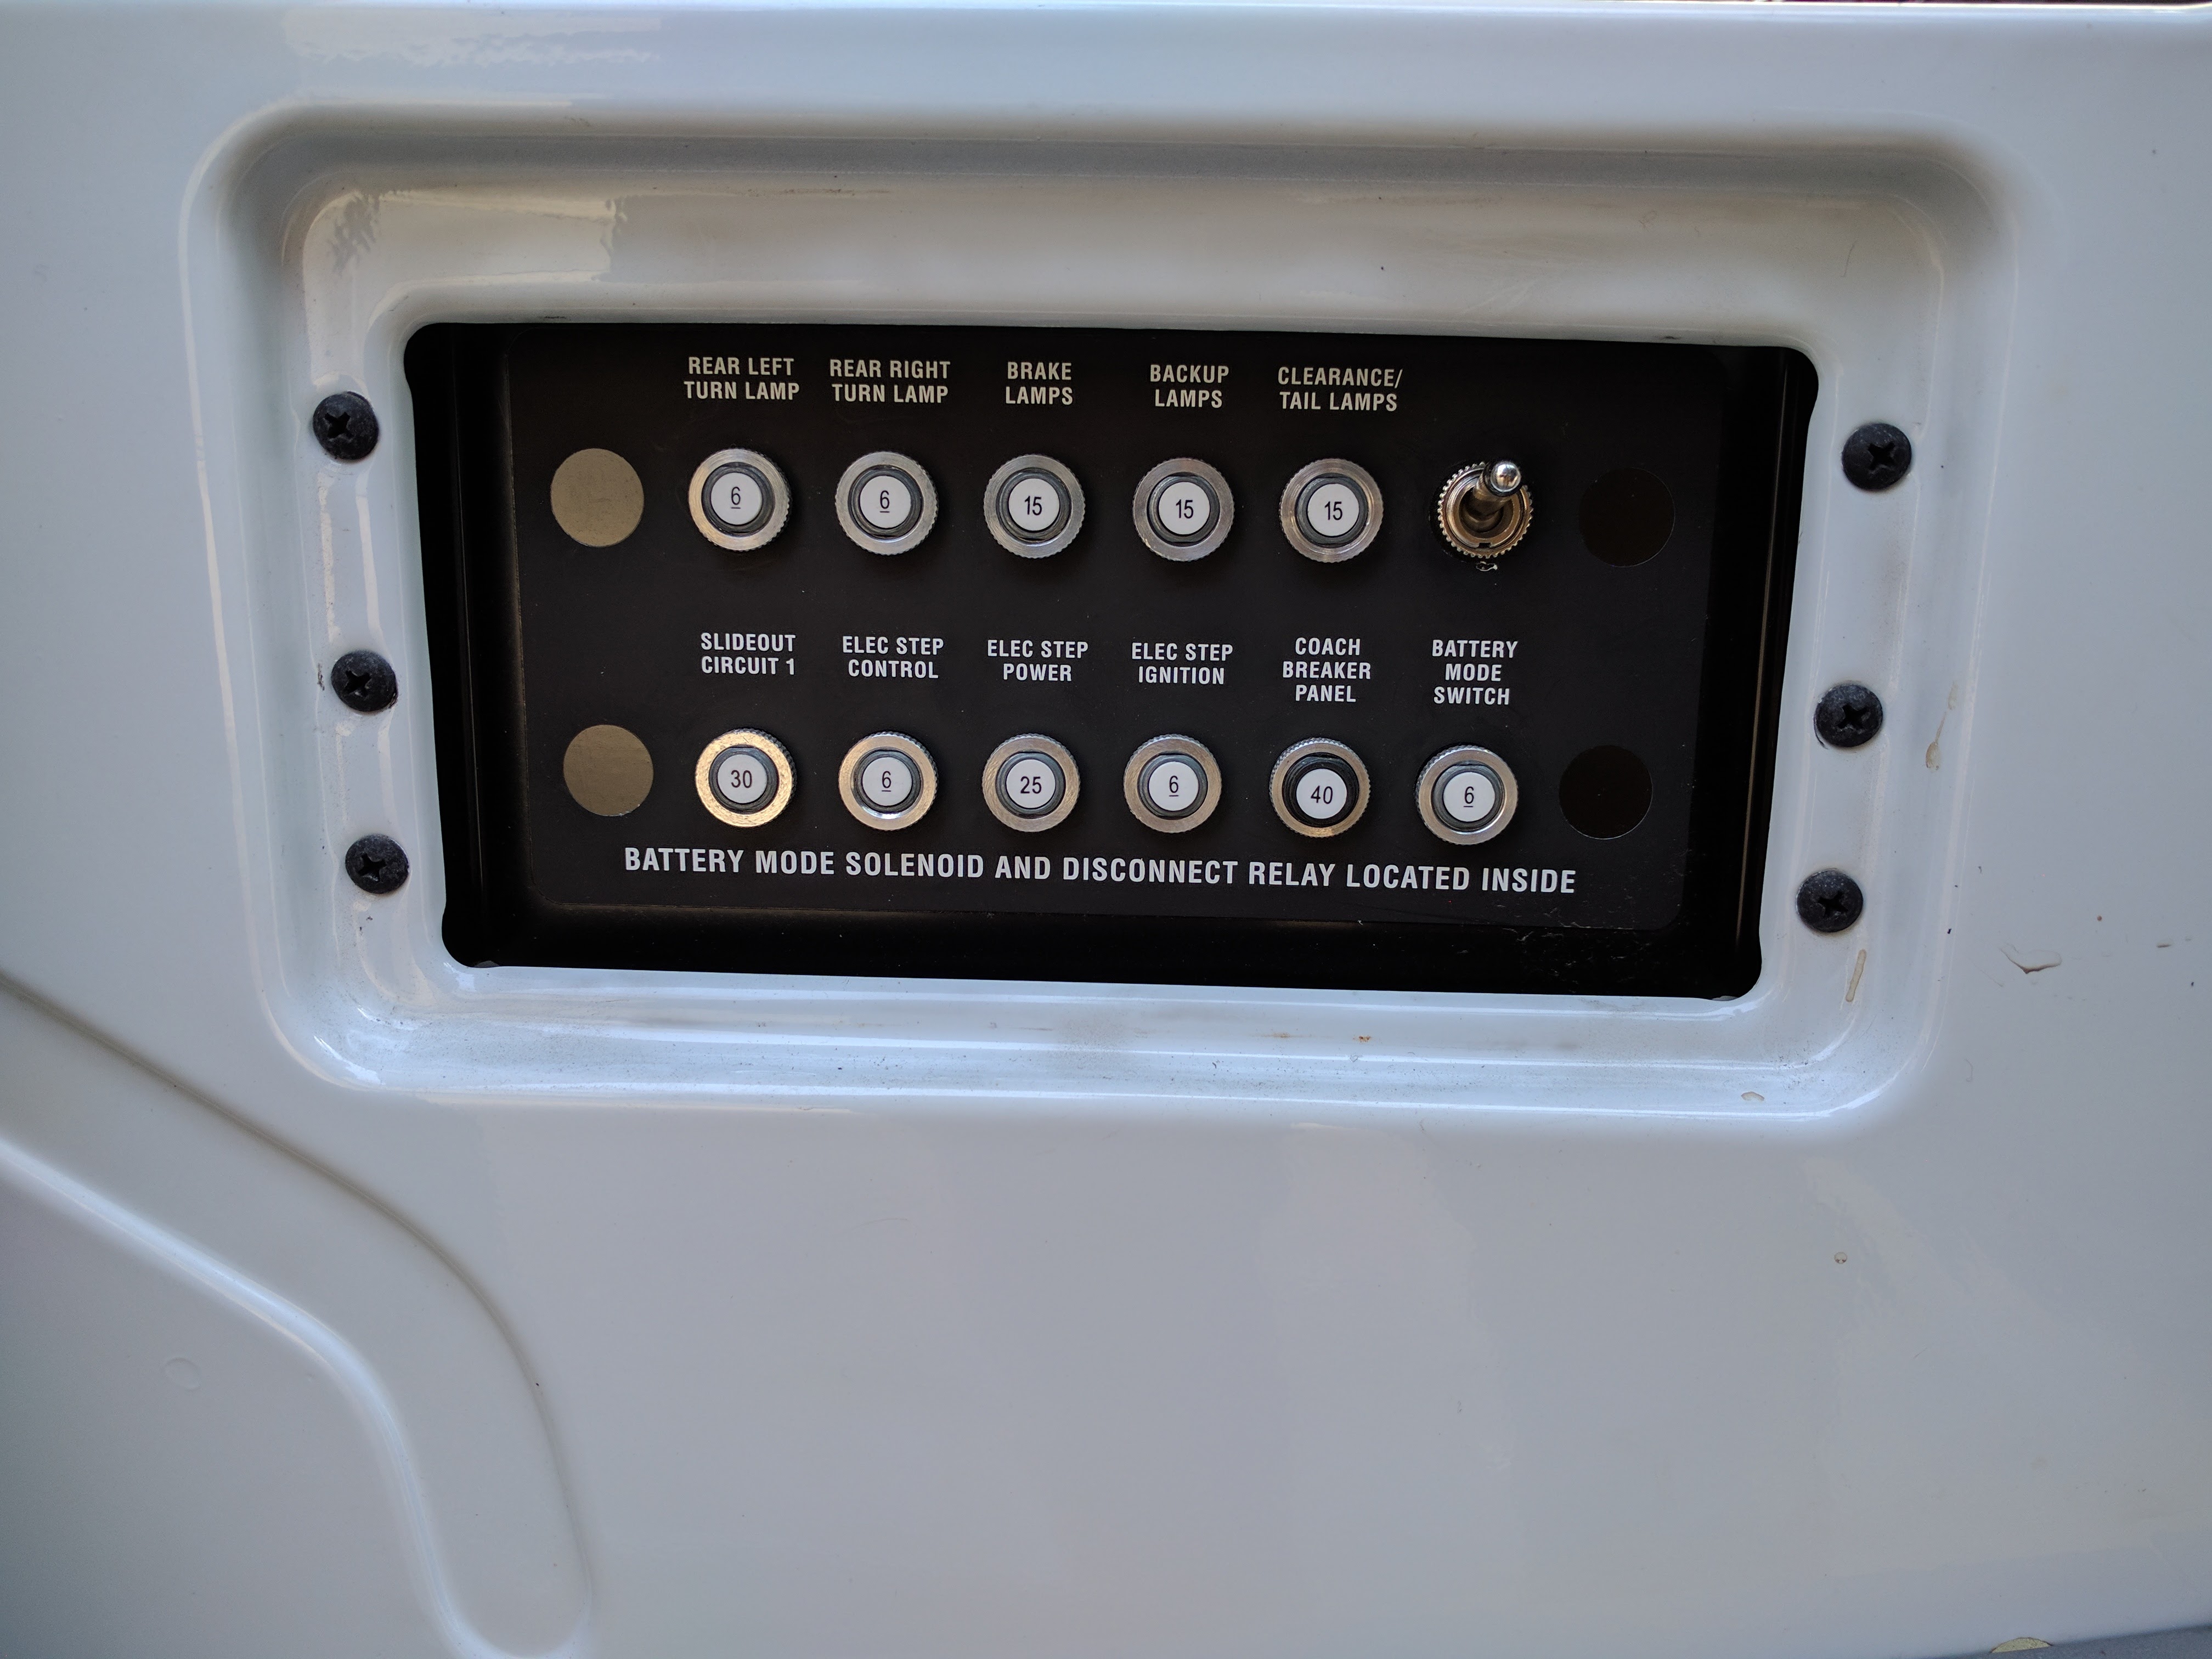
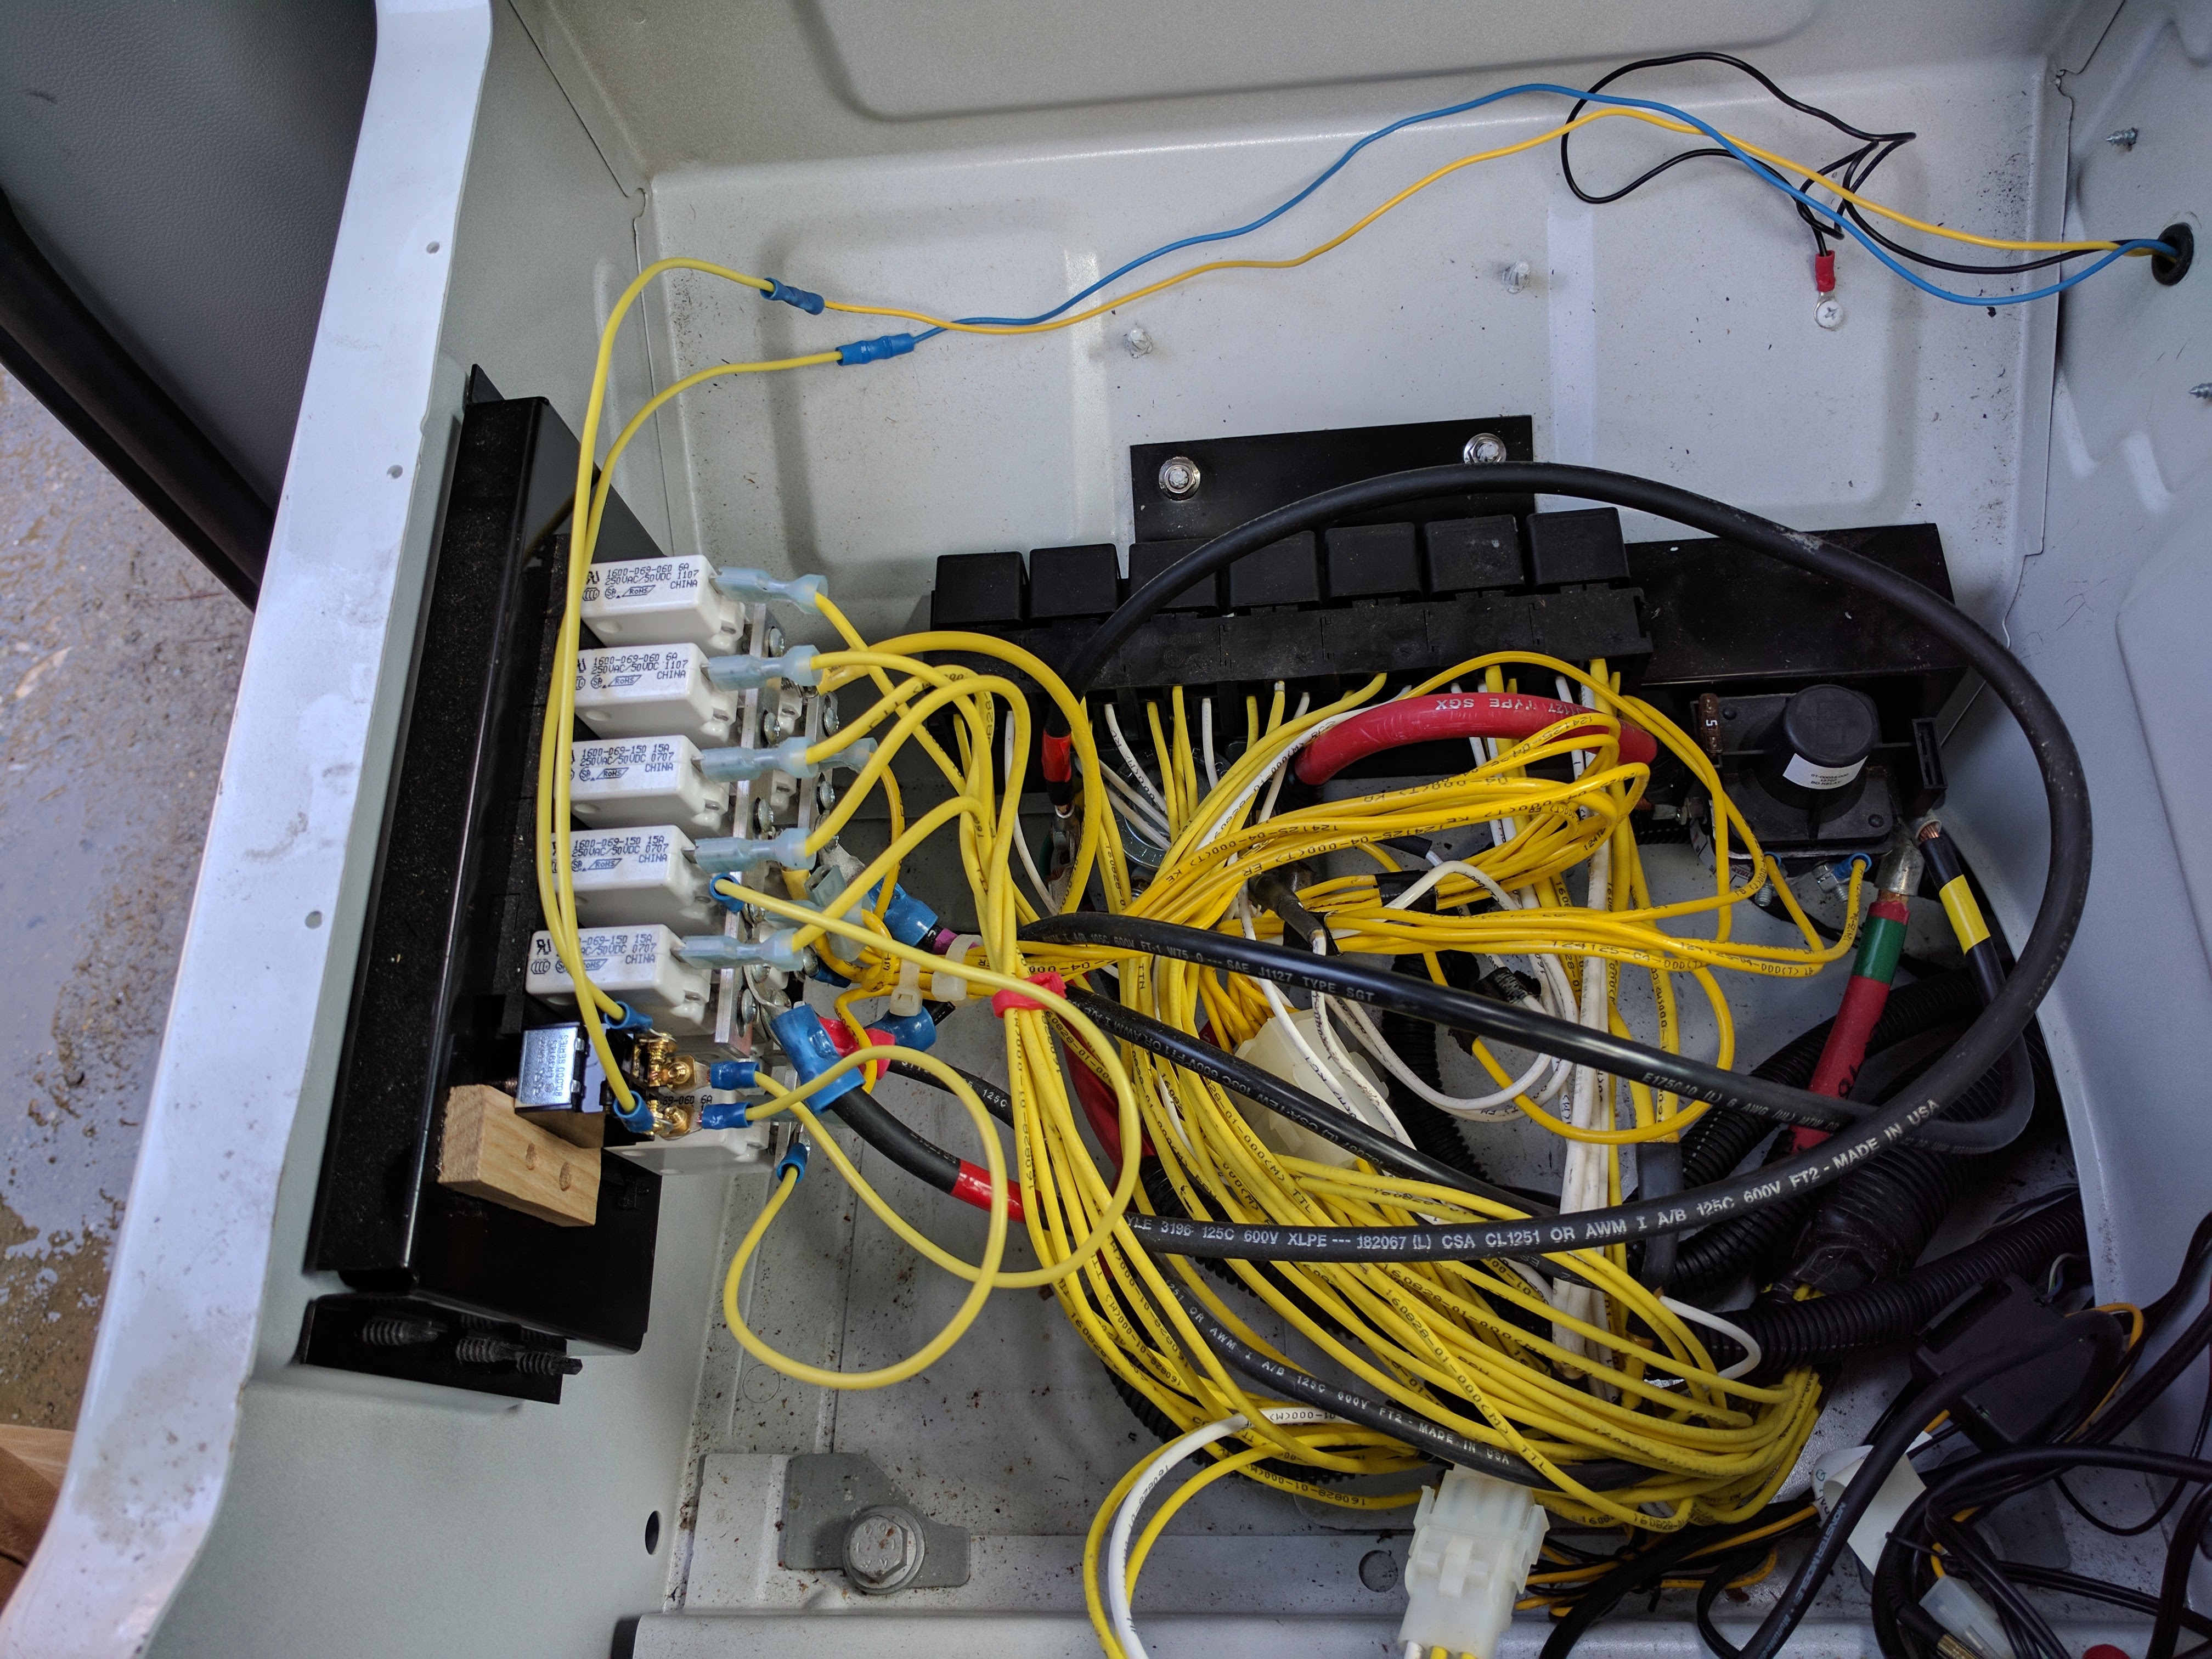
I added a Trik-L-Start unit to our 2008 Winnebago View two years ago. This device trickle-charges the chassis battery (the one that starts the engine) whenever the house batteries (which run the living space) are being charged either by our solar panel or plugged in to shore power. Since I did suspect that an interconnection between the camper and the cab/chassis was involved with the electrical problem, and I wanted to be able to separate and isolate everything for my own safety and for troubleshooting, I added a DPDT switch to completely disconnect the Trick-L-Start unit from the motorhome.
The Trik-L-Start is a very common modification, and there is a specific way to wire it to the Winnebago boost and disconnect relays, which are underneath the passenger seat in Views and Navions like ours. When I went to install my switch, I found a convenient place to put it in an empty spot in the breaker panel under the passenger seat, and I noticed that the relay connections it would attach to were both already wired to bus bars right next to my switch. This made the switch installation very neat, maybe even elegant, and a lot easier. If you blow up the photos, there should be enough information there to see what I did. I don’t want to give specific, detailed instructions because I’m not sure all rigs will be like mine and you should probably understand exactly what you’re doing (i.e., spend some time figuring it out) before you start connecting wires here and there because some guy on the internet told you it was ok.

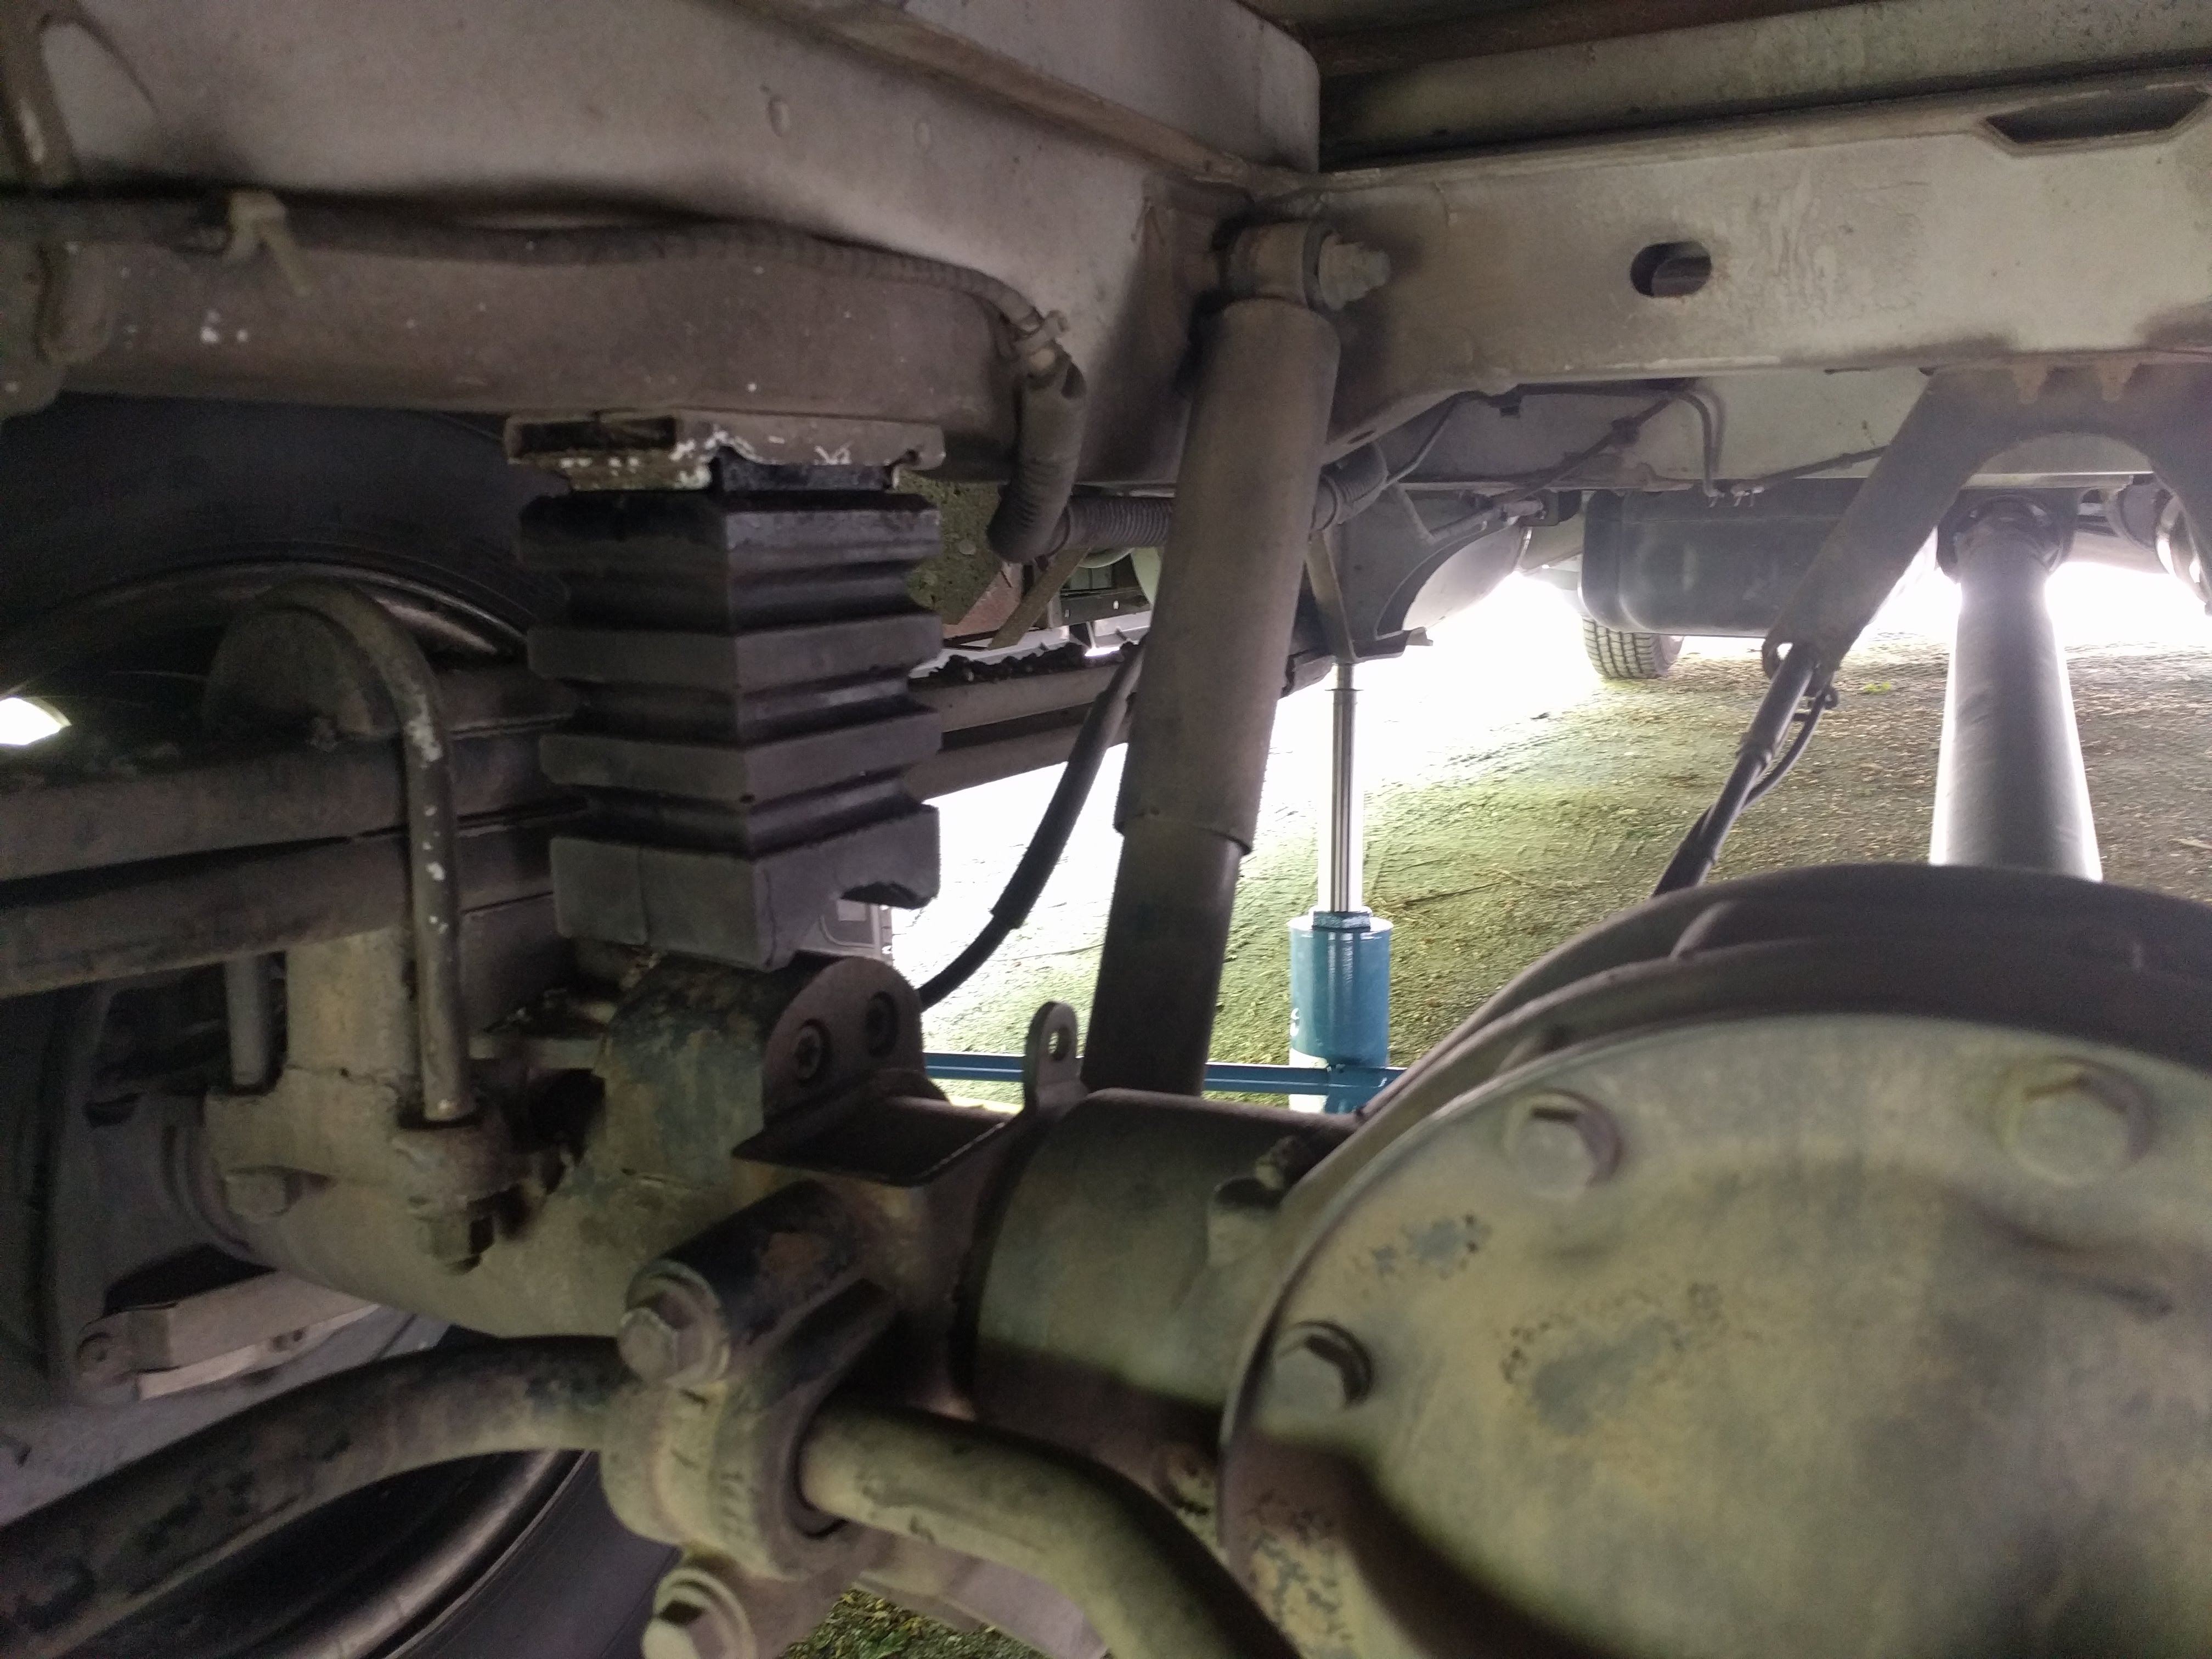
SumoSprings
SumoSprings are helper springs made of some kind of fancy elastomer. They are made for many different vehicles, and I may have first heard of them from a friend who put them in his Class A motorhome. I have also noticed that people in the Sprinter and View/Navion communities seem to rave about them. Anyway, I bought some for the front and rear and installed them on the rig in my driveway in about an hour the day before we left (and the day after we got the rig back from the Electrical Problem). Installation was straightforward and pretty easy. I don’t have any particular hints to pass on except that if you have a Sprinter-based Class C motorhome and it sways irritatingly when you go in and out of driveways or unnervingly when a large truck passes you, you should get them! They’re great – especially for these View and Navion motorhomes which are very close to their fully loaded capacity as they come off the assembly line (before you even put anything or anybody on board).

House Batteries
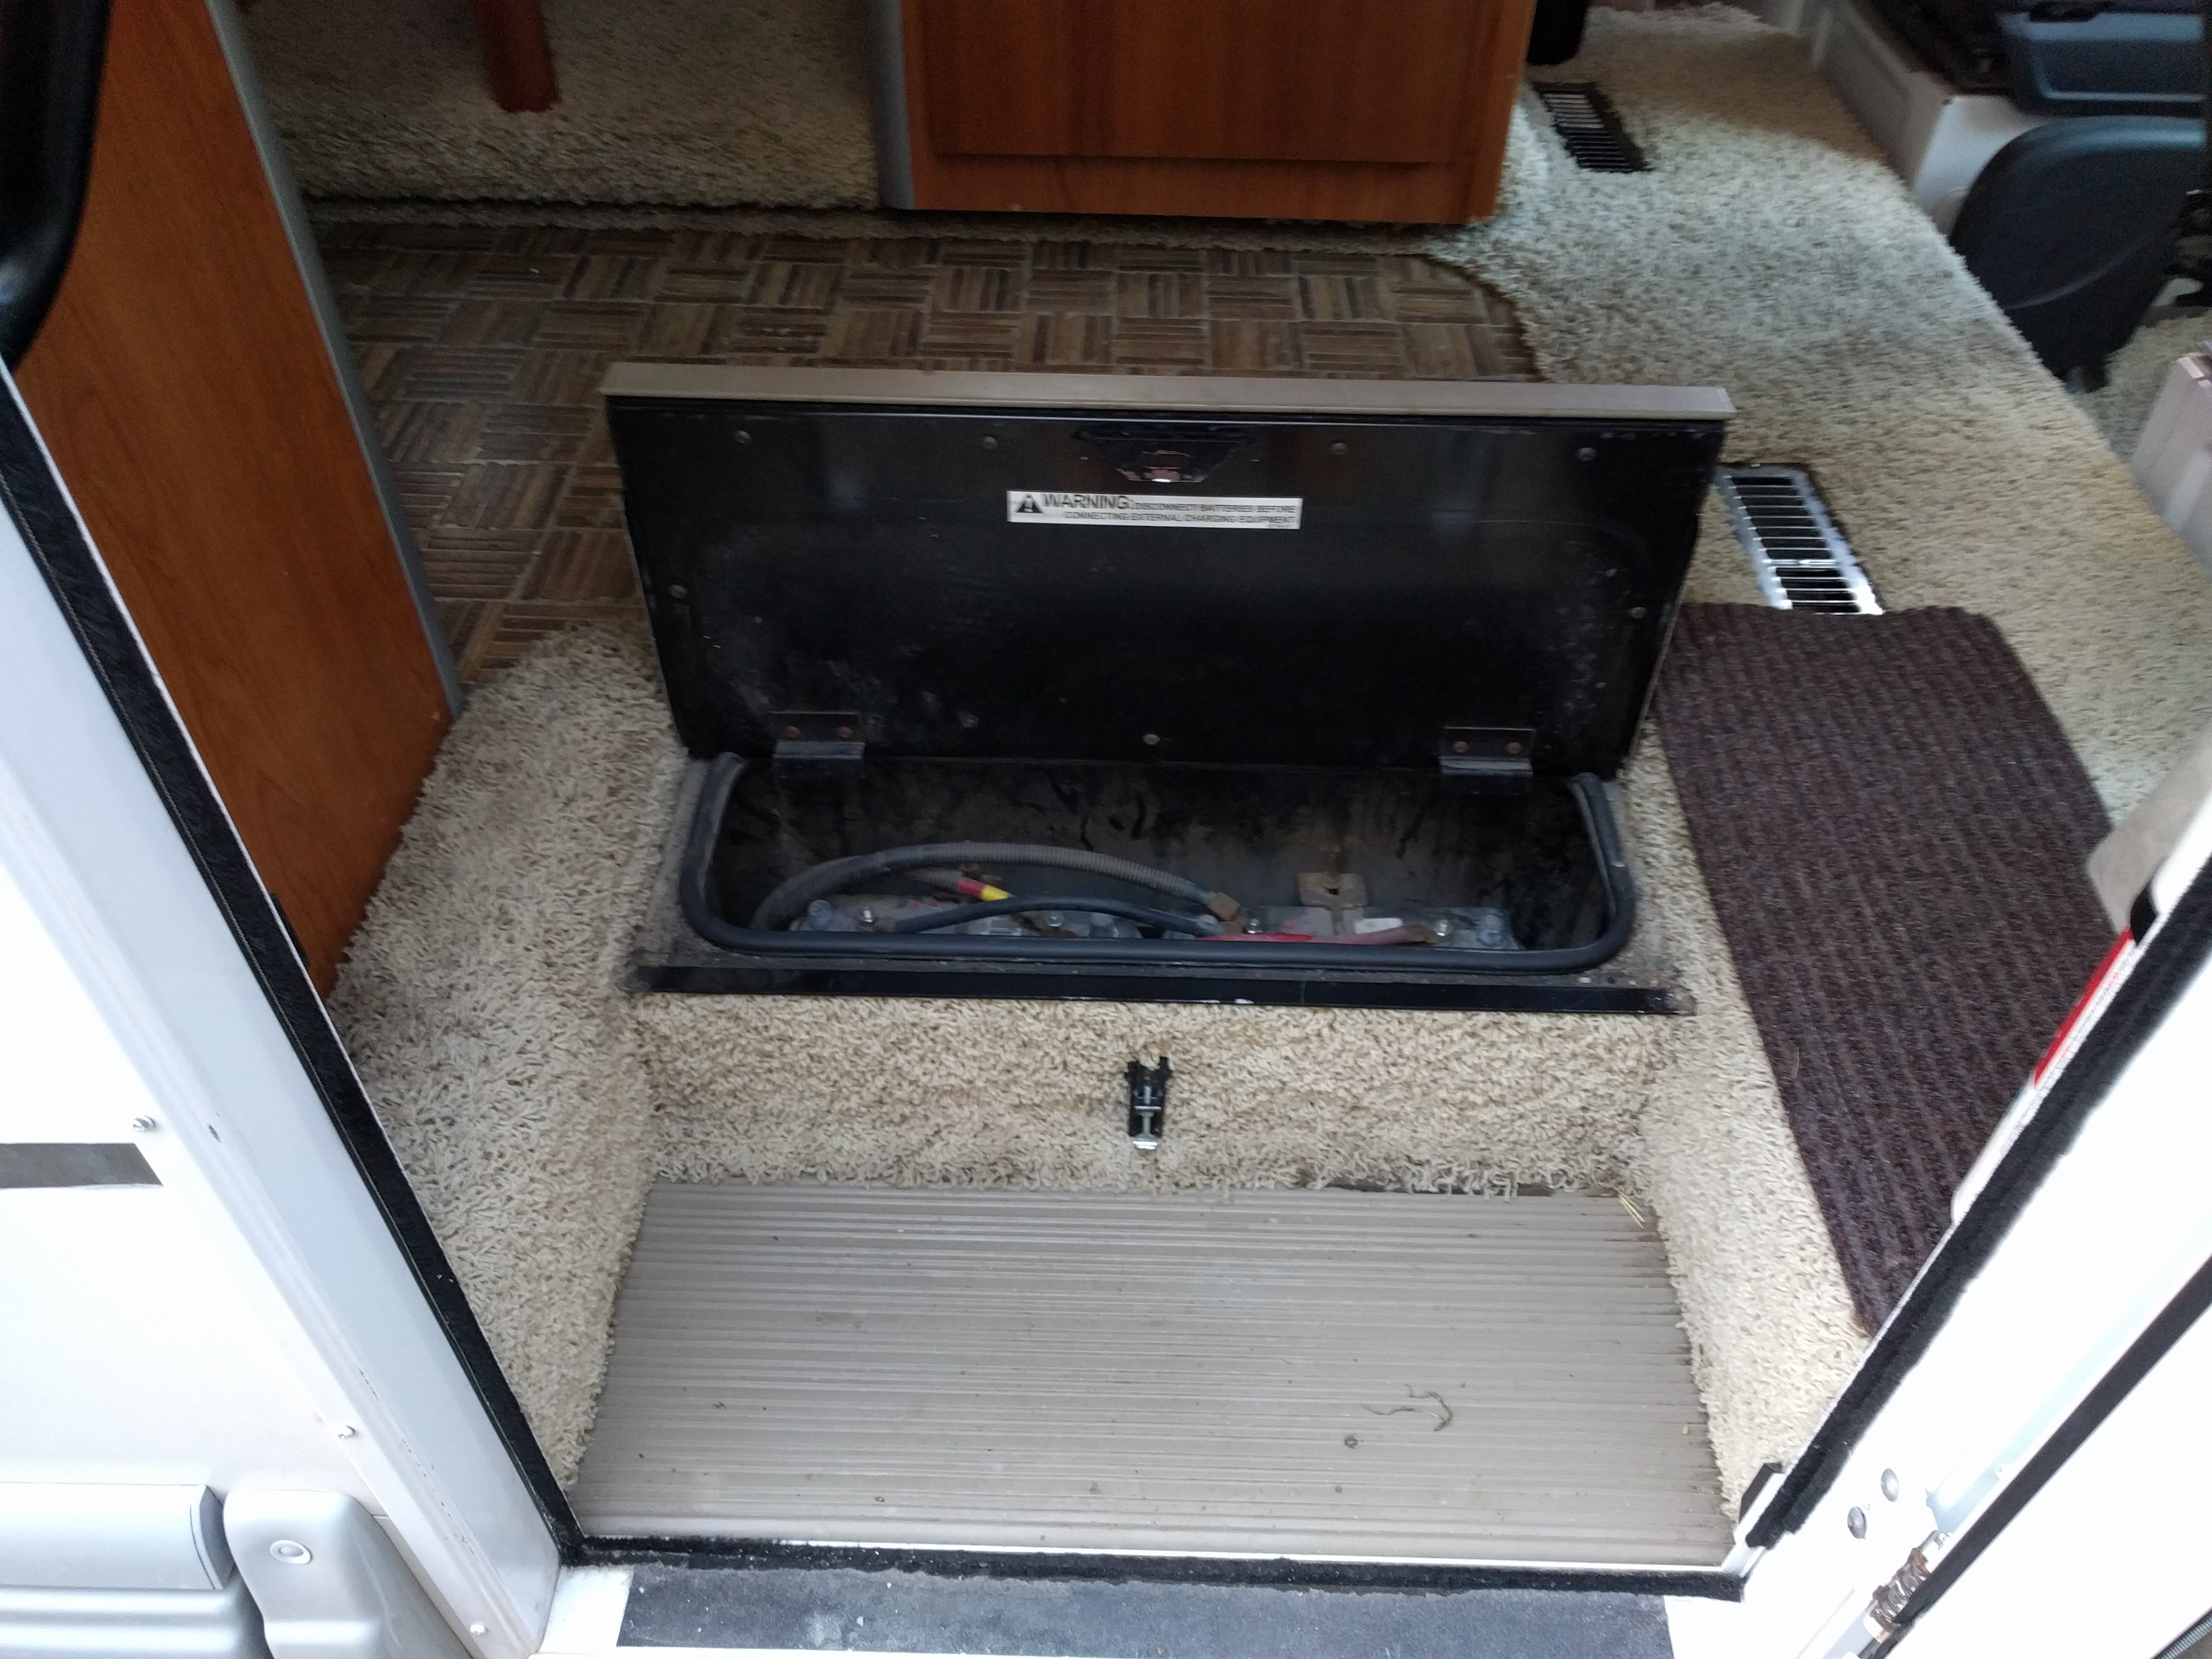
I replaced the two 12-volt, deep-cycle batteries that came with our vehicle with two 6-volt golf cart batteries that give us roughly half again the rated capacity of our old ones. In addition to the lower capacity, though, the old batteries were not holding a charge for more than a day by the end of our trip last year. That was partly because they were old and not top-of-the-line to begin with, but I believe more because early in their life they were allowed to discharge past where they should have when we had a problem with the original converter/charger. Just after we bought the vehicle in 2015, the batteries went a good bit below 50% several times and they were pretty close to dead at least once. Oh, well. The original single-stage charger/converter, having been destroyed by mouse urine, was duly replaced with a multi-stage unit, and that has been treating the batteries as well as possible since then. At least we managed to get two years out of them.
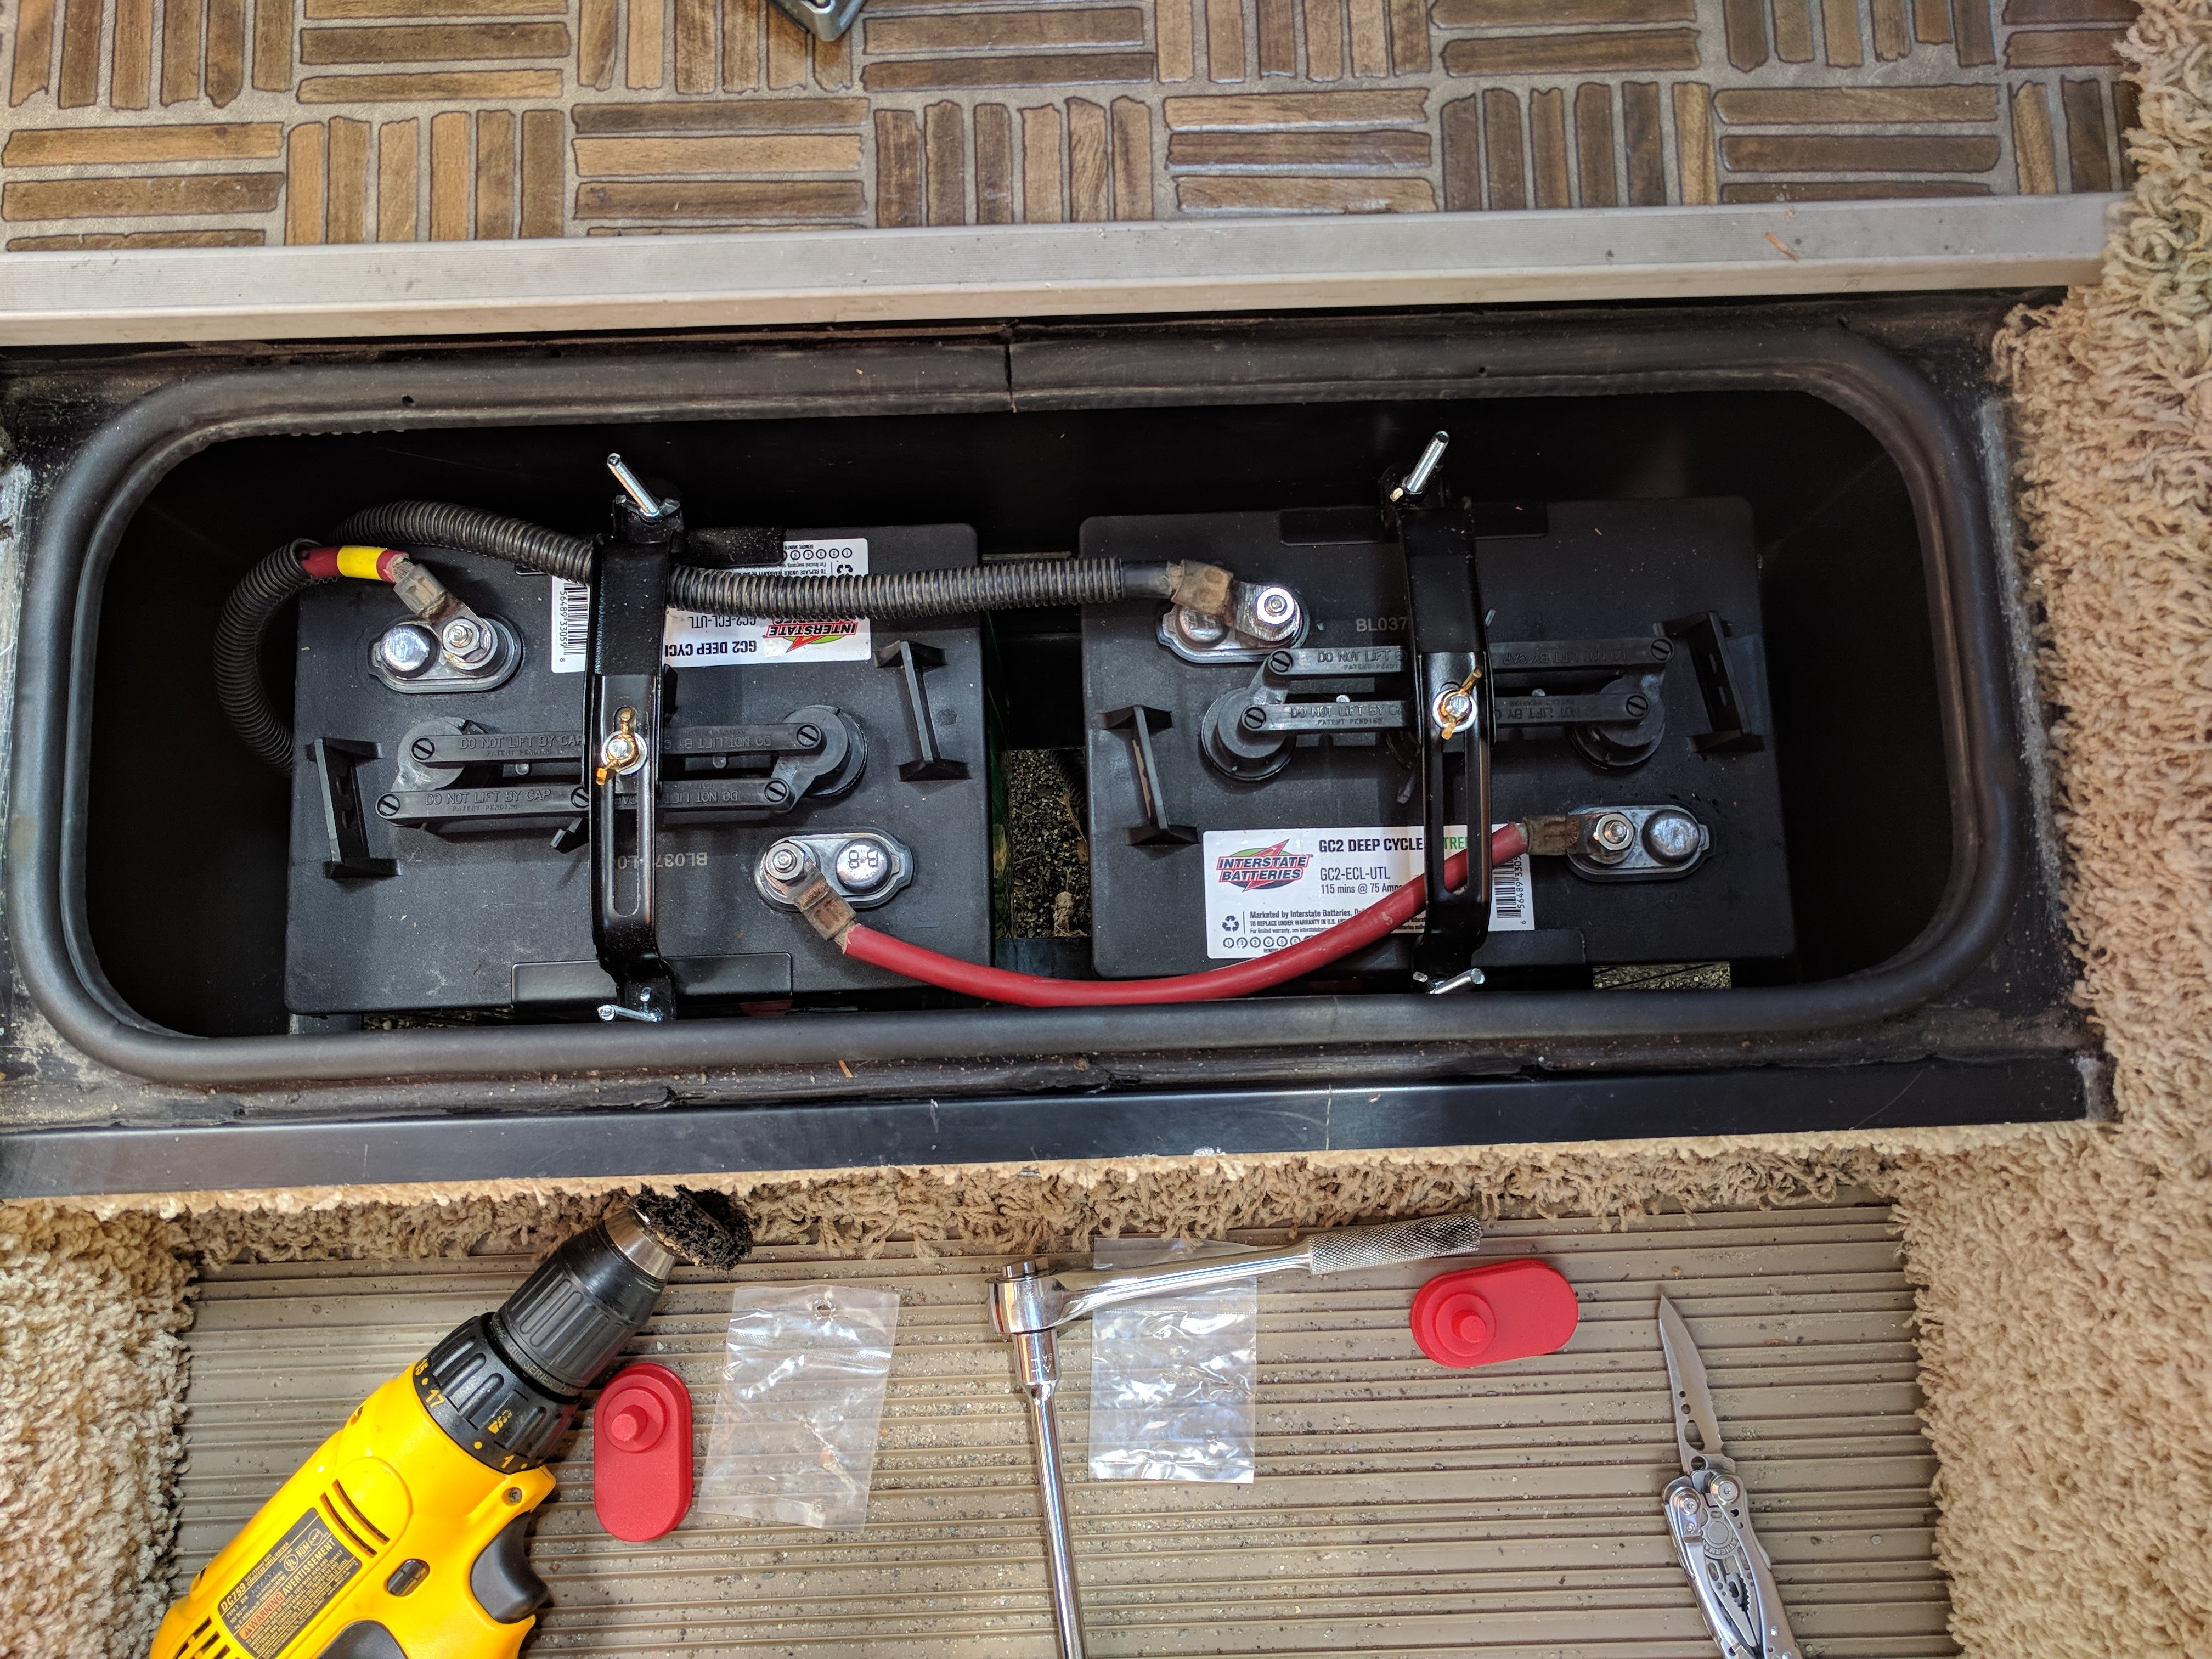
I used to connect both our solar panel controller and our inverter to the posts on the 12-Volt batteries with spring clamps. The new, 6V batteries have different posts than the 12V ones did, and effectively only half as many of them since the batteries are wired in series, so I can no longer connect both devices with clamps. I wired our little (400 W) inverter directly to the terminals and for safety I added an in-line circuit breaker. In order not to replace the main cables, I turned the batteries around to bring the two negative terminals to the inside (see the photo), but that shouldn’t be a problem as long as I remember to pay attention to which connection is which. I put covers on the posts that are used to wire the batteries in series, which ought to help.


Michelins, TPMS, Dually Valves
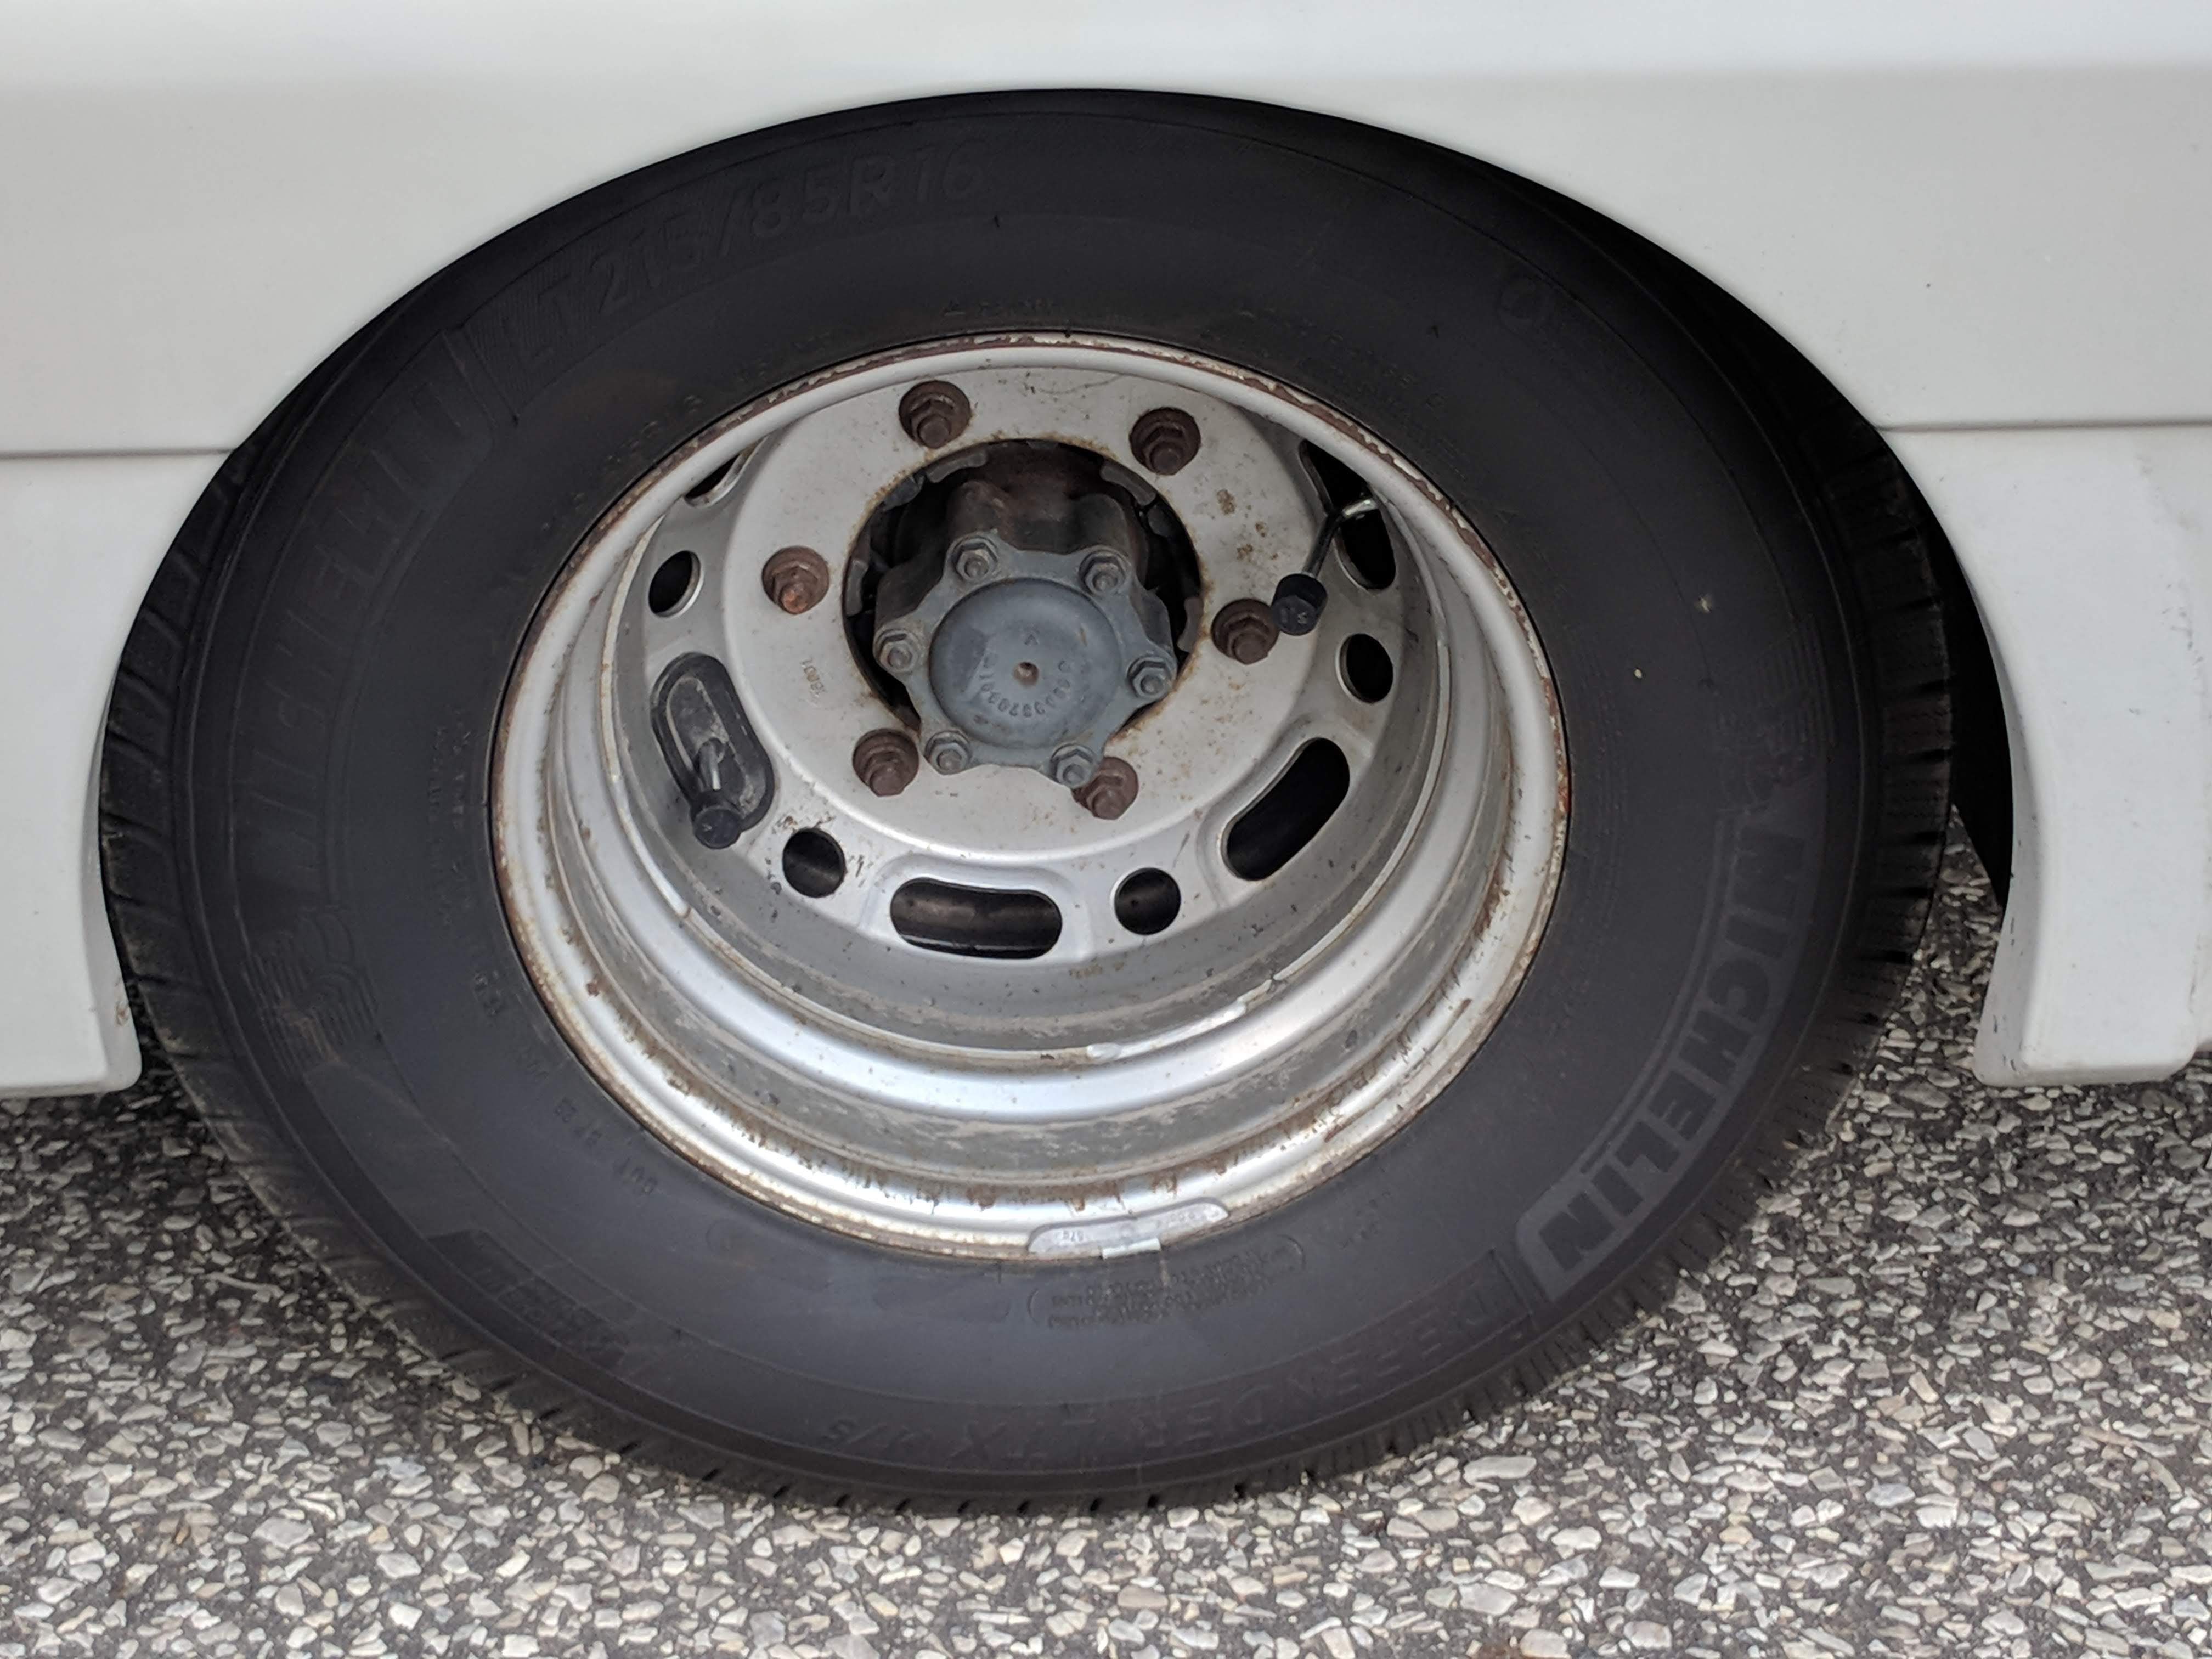
Last year our front tires self-destructed. Actually, it was probably earlier than that – sometime during the 2016 trip – when belts broke in one of them, or maybe both, and caused the tires to start wobbling and wearing out fast and the vehicle to be a lot of work to steer. It started slowly and gradually worsened, so it wasn’t immediately obvious that anything was wrong, but by the time we got to Denver we realized it wasn’t simply that these darn motorhomes drive like trucks, we had a problem. An alignment and two new Michelin tires followed, and we found out these darn motorhomes can actually drive like huge sportscars. This year, the three remaining Goodyears on the back along with a Yokahama we picked up in Salt Lake City were replaced by four more Michelins.
When we first got the View, I found that I couldn’t reach the valves on the rear inner wheels. It was hard enough just to find them! Once I did figure out where they were, I had a gauge that could reach all the way in there to read the pressure, but I couldn’t get to the valve cap to unscrew it, so I couldn’t check the pressure and I couldn’t add air. WTF? I worked with a tire shop in Montpelier, and they put some extensions on the valves so I could access the valves from the outside. Unfortunately they didn’t have all-metal valve stems that fit the Sprinter wheels, so they used rubber stems. We had no major problems during our 2016 trip, although I had to add air every couple of weeks to one of the back tires. That tire went flat over the winter while the vehicle was in storage and another of the back tires lost much of its air. In the spring, the tire shop in Montpelier revisited the extensions and we found and fixed leaks on both those tires. We later found that one of those tires with leaky valves ALSO had a real flat, which another shop patched for me when they ran my VT State inspection.
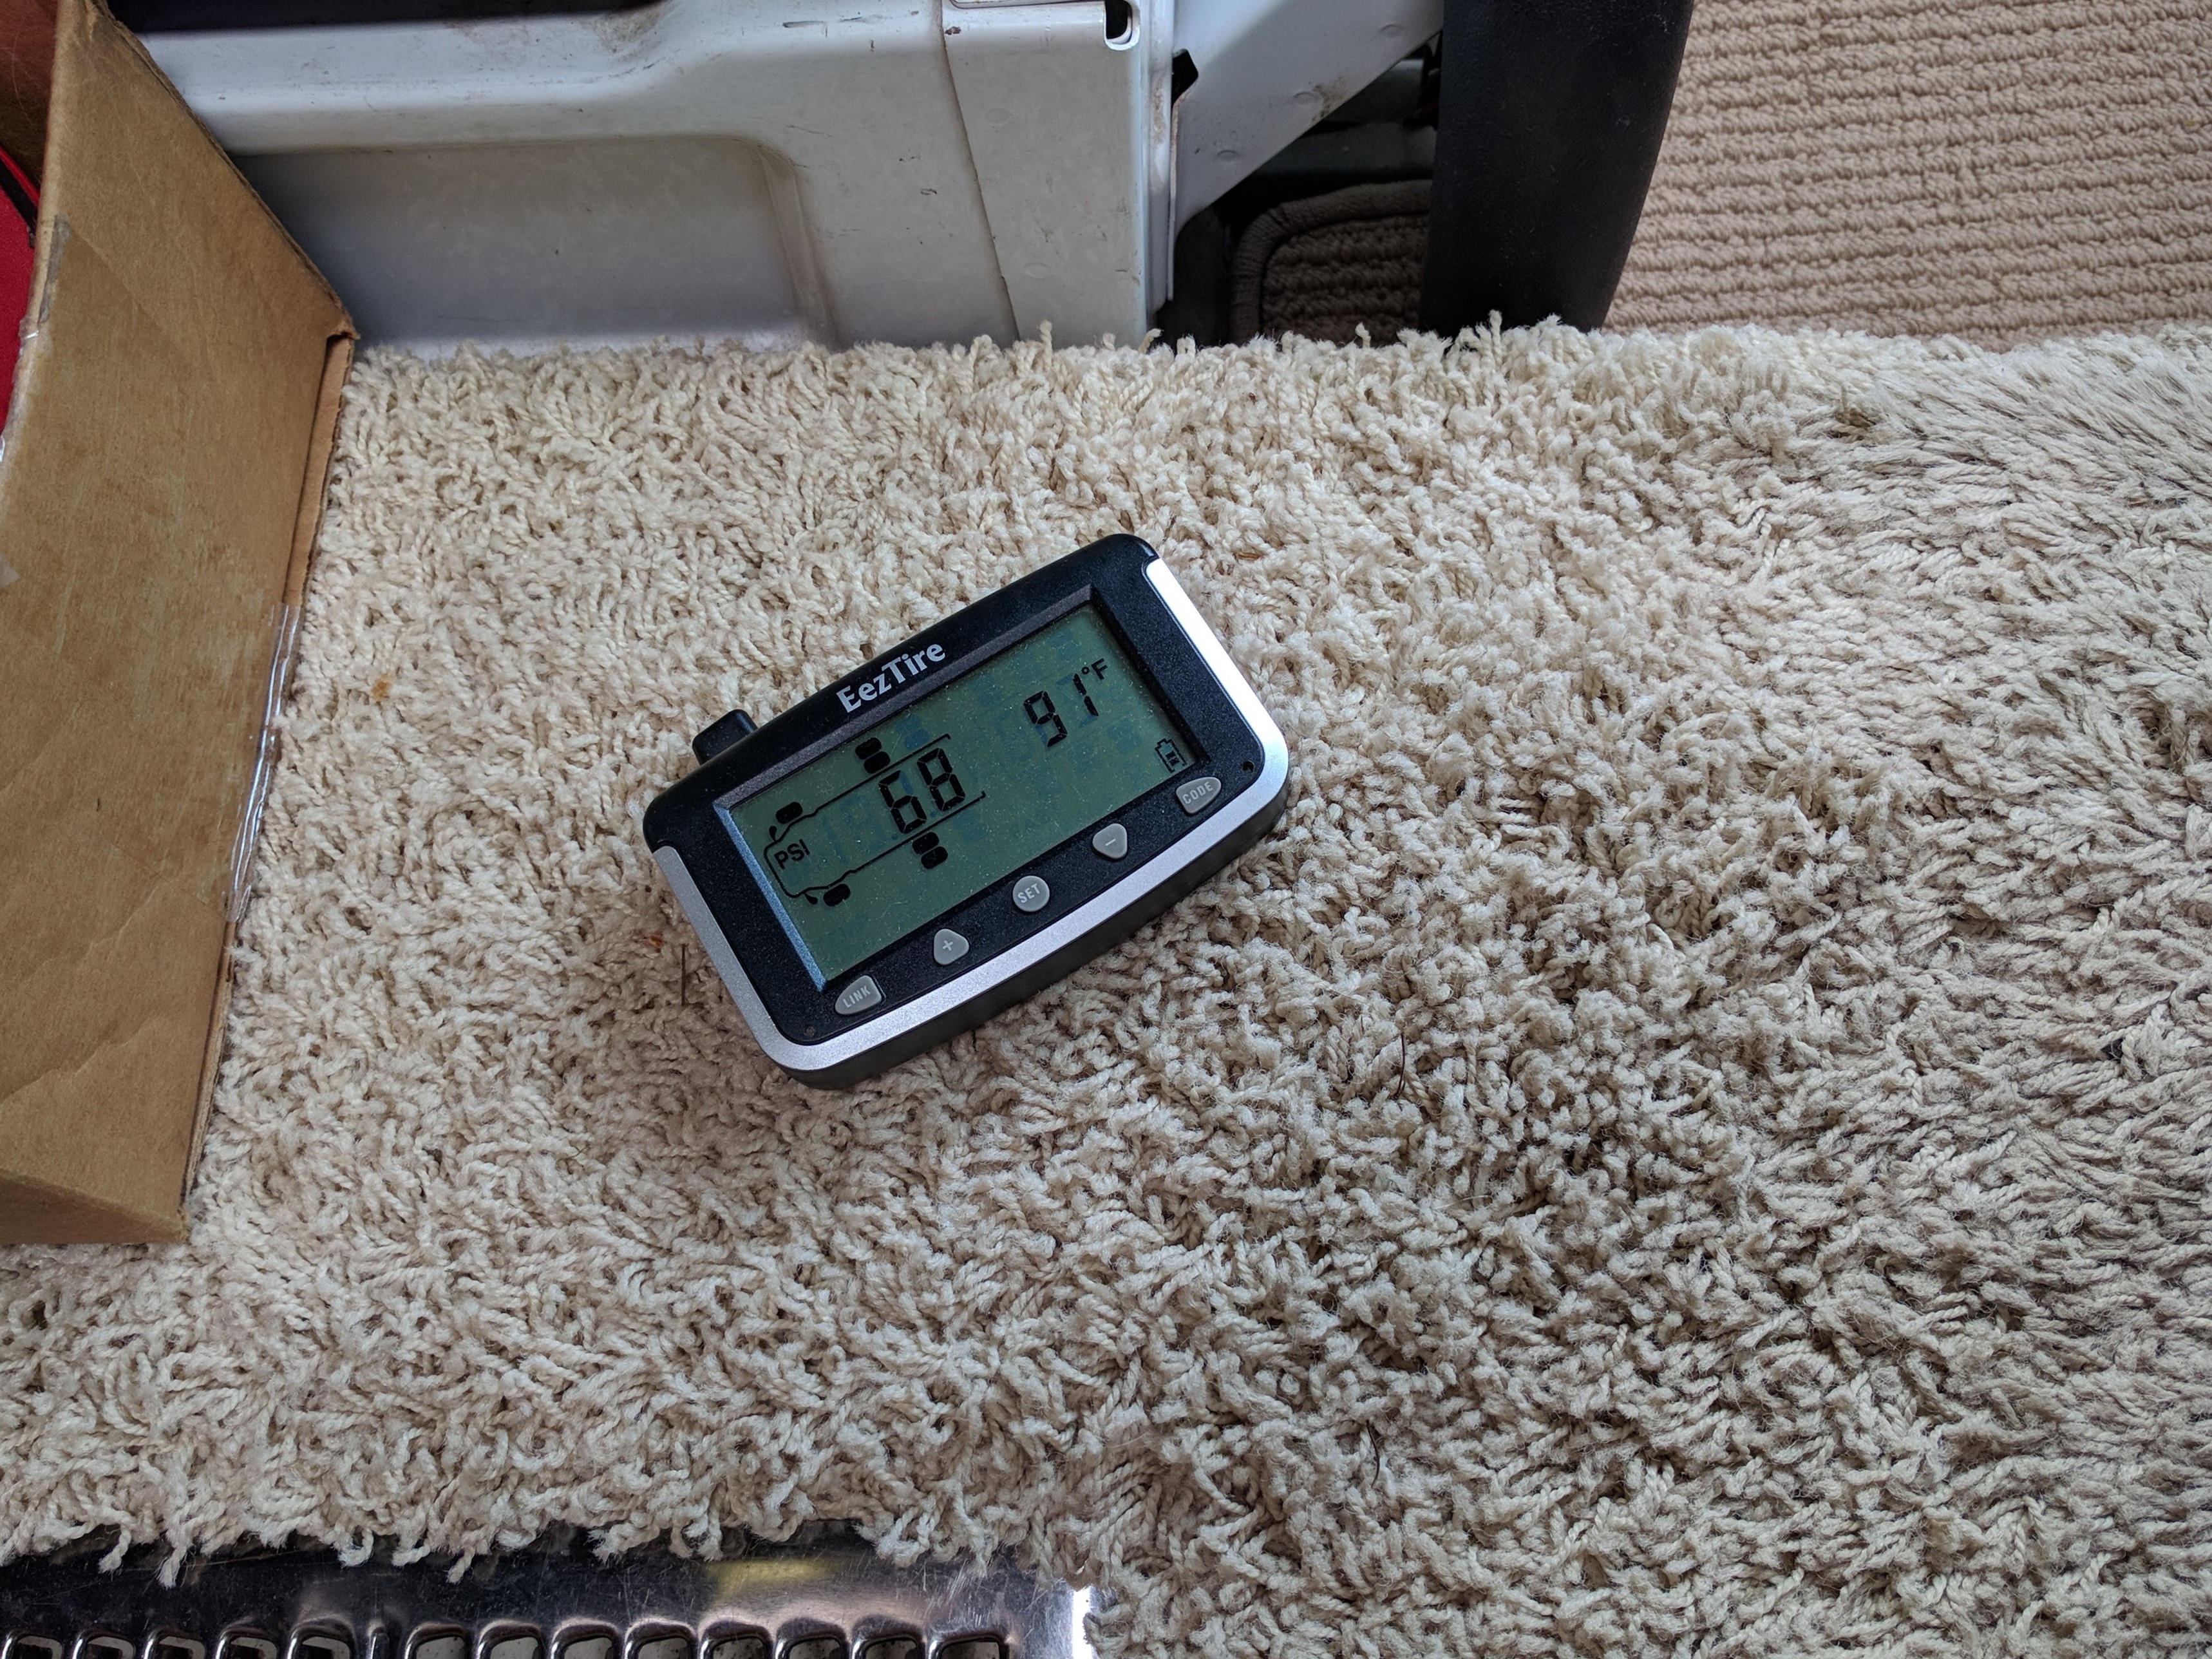
I added a TPMS system (EEZ Tire) before we started out last year. This system replaces the valve caps with sensors that wirelessly inform a display unit in the cab of the pressure in each tire. An alarm goes off if the pressure in any tire goes outside of limits or changes too quickly. The system works well, but the sensors make it necessary that I can reach the every valve with my fingers, so I needed to keep the extensions.
Over the course of our 2017 trip three of those four valves developed leaks – one where the valve attached to the wheel, and two where the extensions attached to the valves. We also had one “real” flat tire – it was that patched tire that began leaking again, and the shop we took it to in Salt Lake City wouldn’t repair it because they couldn’t guarantee the first shop hadn’t damaged the tire with the method they used – and that is where we picked up the lone Yokahama. Anyway, I am confident that the TPMS sensors did not cause any of the leaking, and they were invaluable in recognizing all of these problems before we actually ruined a tire or had a blowout. But the flexible extensions are prone to leaking and the rubber-stemmed valves are not reliable, especially with the extensions. I was able to tighten and fix the leaking extensions myself, and in the other two incidents we were able to get the vehicle to a tire shop safely, stopping several times on the way to add air. In Idaho Falls, ID we had all the rubber-stemmed valves replaced with solid metal valves and kept the extensions for the rest of the trip.
When we put the new Michelins on this spring, I had the tire shop install a set of Borg Dually Valves. I bought these myself and brought them to the shop. They are long, solid metal valve stems that are designed to bring the valves to the outside on dual-wheeled vehicles, as well as to withstand the addition of TPMS valve caps like the ones I have. They are long enough to extend through wheel covers which we are not using, so the valve stems stick out kind of far, but I think we can live with that. So far, so good – though at the time I write this we’ve only been on the road for a few days.
Spare Tire, Bike Rack and Bikes
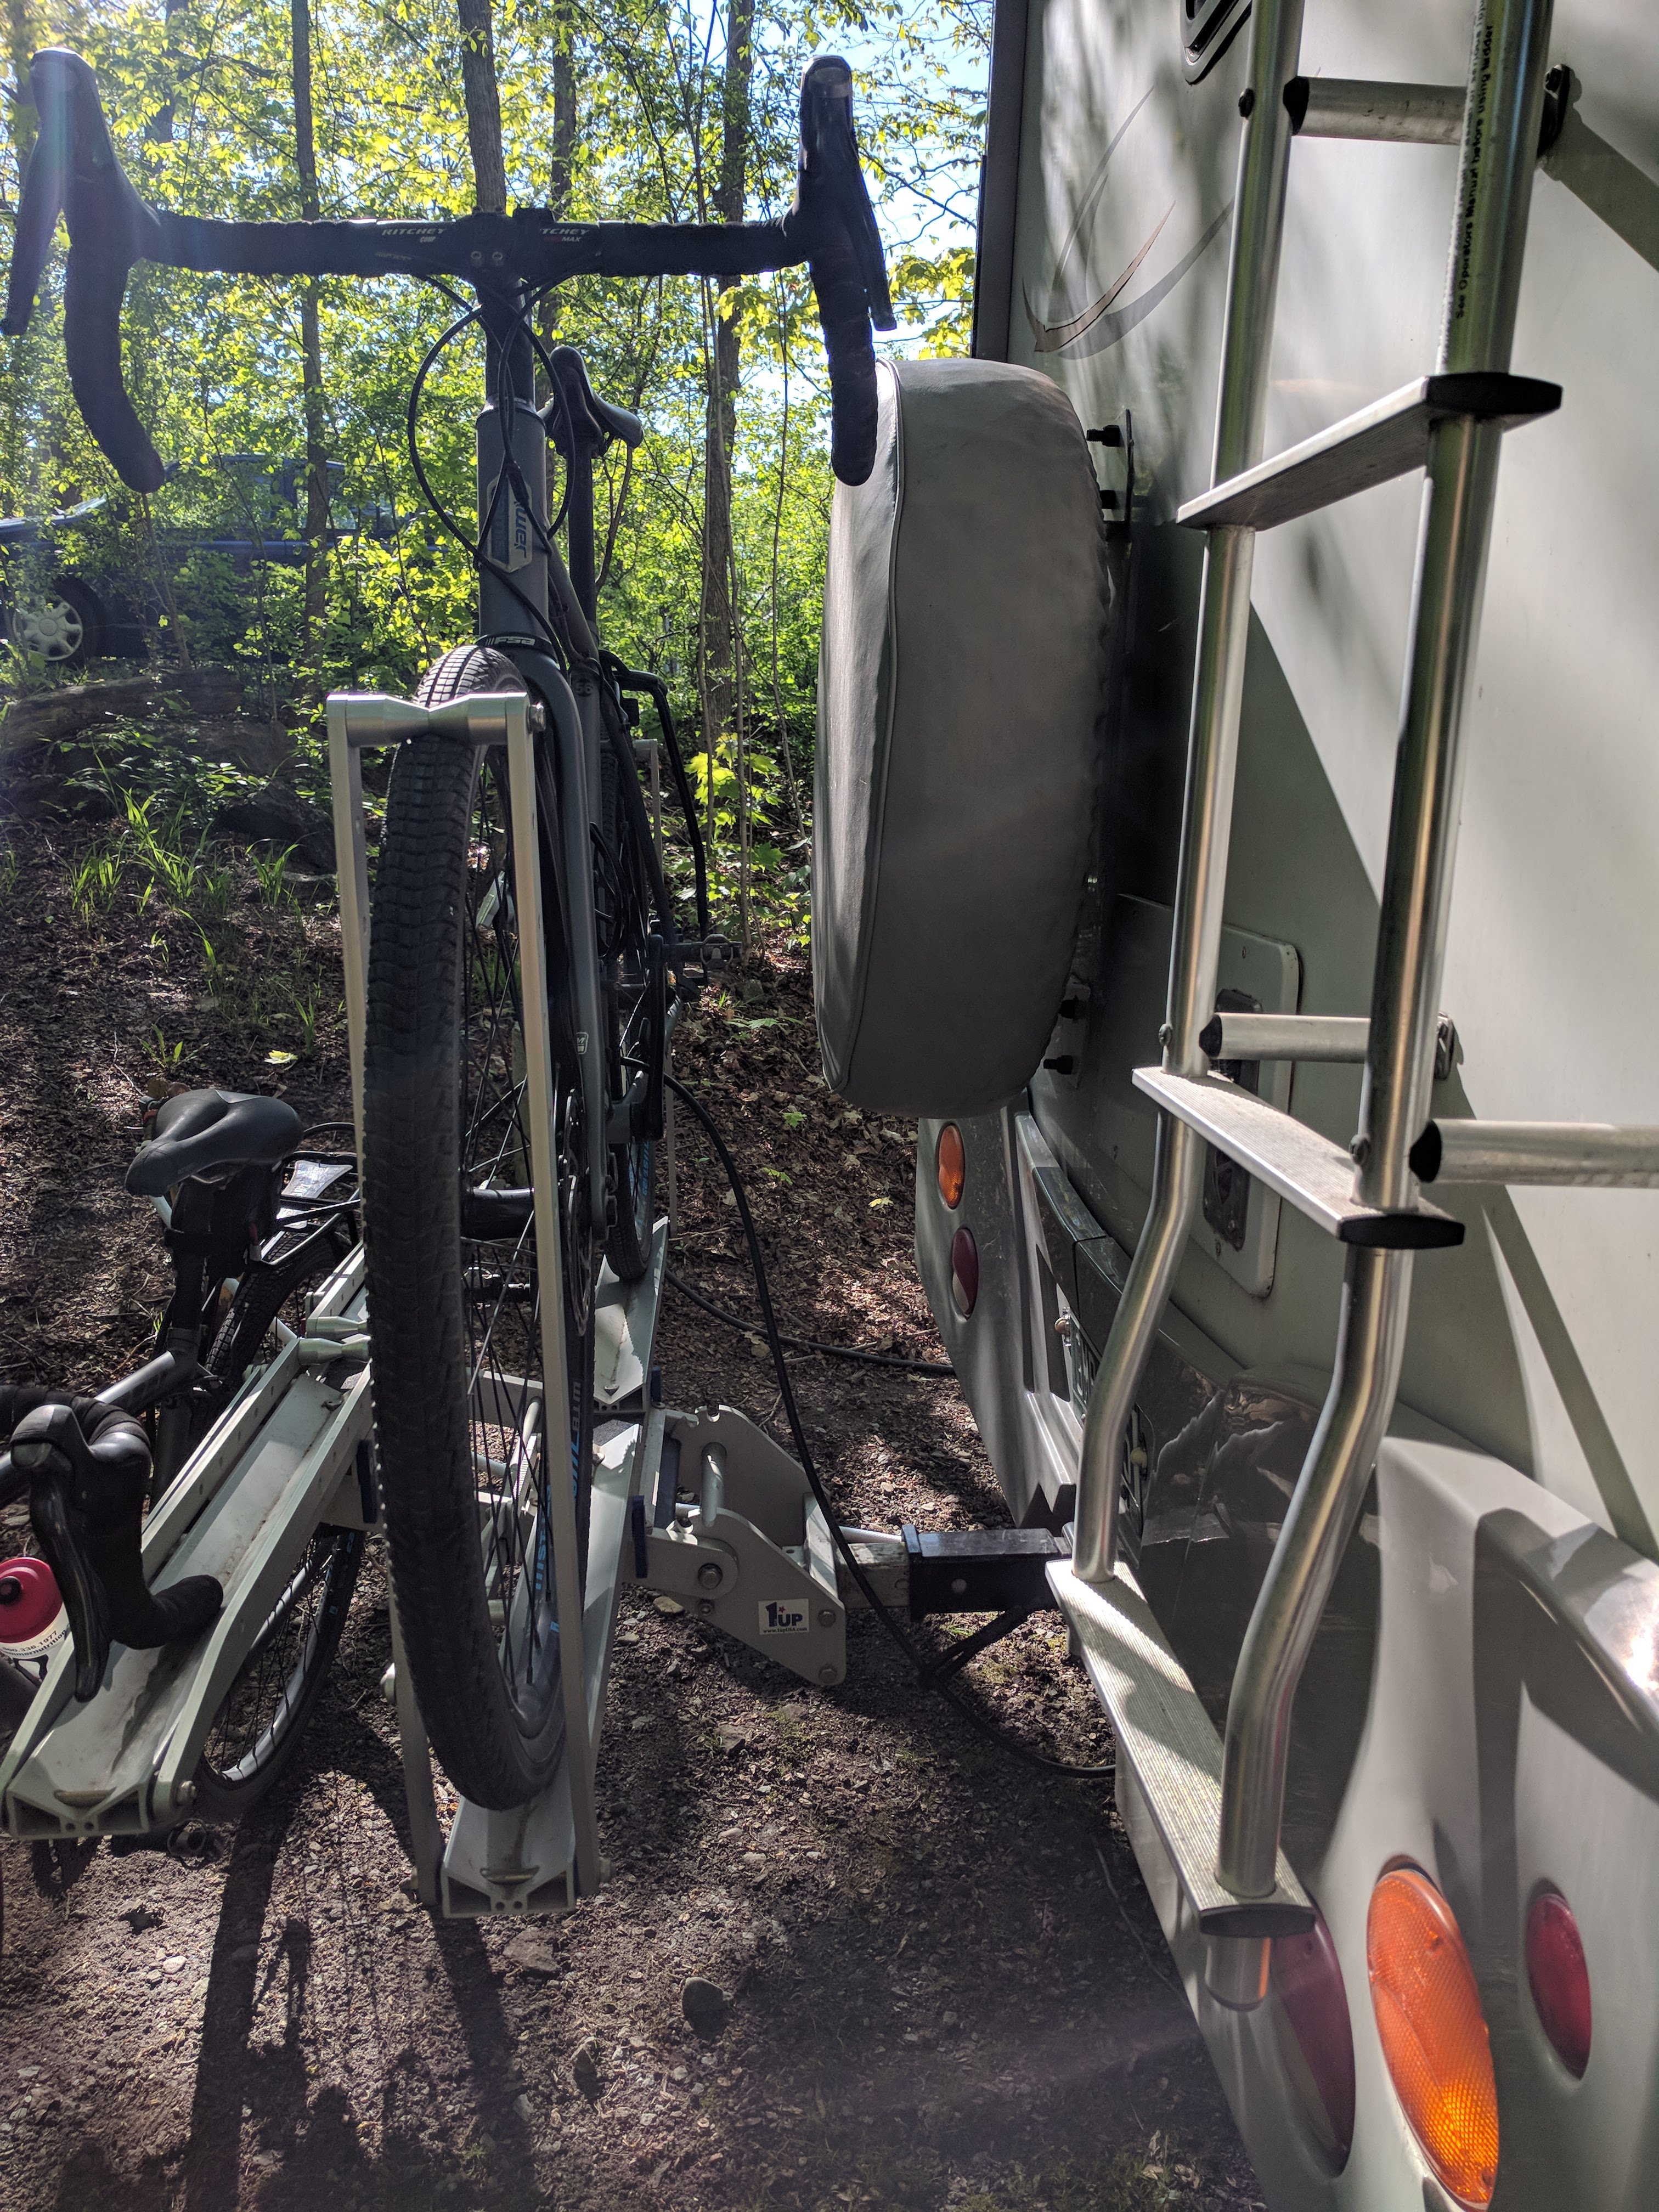
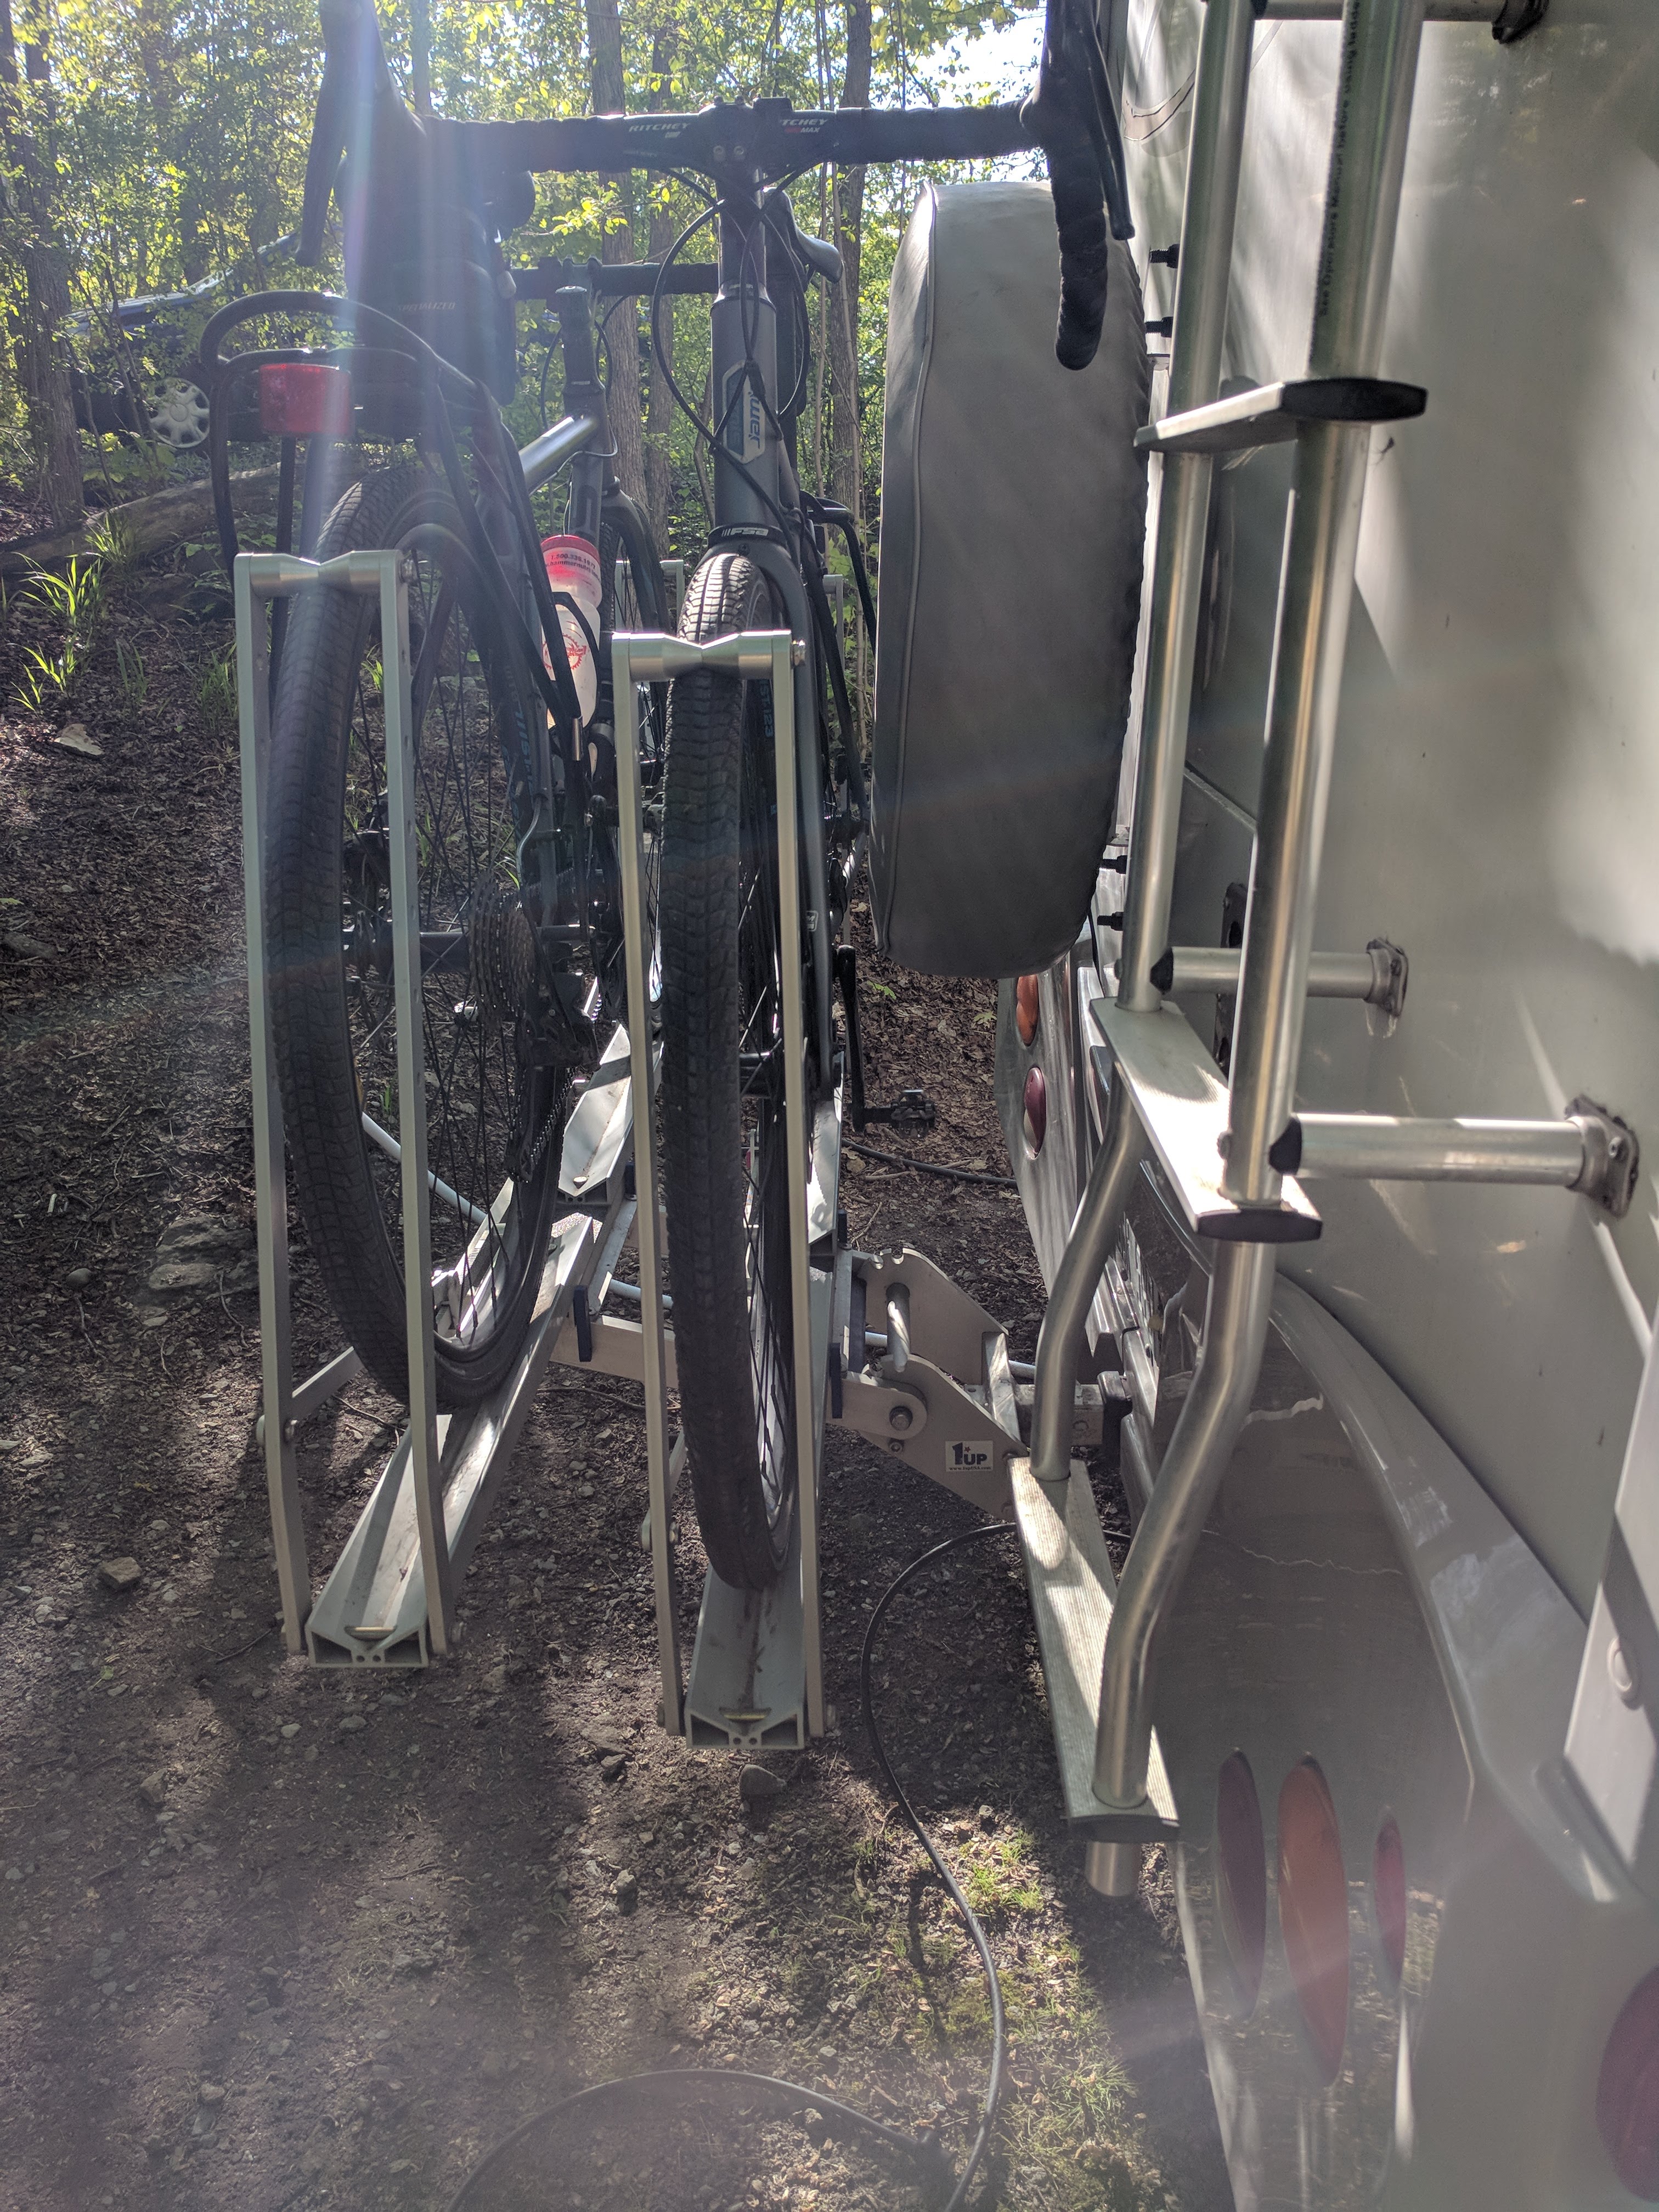
We carry two bikes with us on a hitch-mounted rack. The rack is made by 1-UP USA and I have never seen a better rack for this purpose. In 2016 we had to use a hitch extension with the bike rack so the bikes would clear the spare tire. In 2017, we left the spare tire at home for reasons we’ve explained. We also got new bikes with significantly different geometry than the old ones. This year we’re concerned that we may be headed into more remote and isolated areas where it would be imprudent to travel without a spare tire, so the spare went back on the rig – along with the hitch extension for the bike rack. However, the slightly shorter overall length we had last year – without that hitch extension – was surprisingly helpful in tight spaces. I did a little bit of playing around and I found that with the new bikes I can attach the rack, with the recommended amount of insertion into the hitch, without the 7″ extension, and still arrange the bicycles so they don’t interfere with the spare. Success!
I’d searched diligently for the answer to that question (“Can one mount a 1-up USA rack to a Winnebago View that has a rear-mounted spare, without a hitch extension?”) before I bought our rack and I never found any relevant information, so the preceeding paragraph is everything I know. And the answer to my question is “Maybe you can.”
That’s all for now, thanks for hanging in there to the end!
I hung in…….read it all. Understood a bit of it!
Lots of useful info!